
A bunch of elderberries are surrounded by white flowers
September 2, 2024
Summer’s wrapping up, and while we might be doing a happy dance as the kids head back to school, we all know what’s lurking around the corner—the dreaded back-to-school cold. But don’t worry, I’ve got a little secret that’s been a game-changer for my family: elderberry syrup. Why I Swear by Elderberries * These tiny, dark berries are like nature’s multivitamins. They’re packed with antioxidants and vitamins that help boost your immune system, making them a perfect defense against colds and the flu. And if you’re already starting to feel that scratchy throat or stuffy nose, elderberry syrup can help lessen the symptoms. It’s like having a natural, sweet-tasting remedy that actually works. Where to Find Elderberries If you’re lucky enough to live in the countryside, you might just find elderberry bushes on a walk or drive. They love soaking up the sun, so check along roadsides or open fields. There’s something satisfying about picking your own berries, knowing you’re gathering the good stuff straight from nature. But if foraging isn’t in the cards (or you’re just not up for it), don’t worry! You can easily order organic elderberries online and have them delivered right to your door. It’s like having a little piece of nature shipped directly to you. Harvesting Elderberries: My Favorite Part Some varieties of elderberries can be toxic when eaten raw – the best way to avoid this is to make sure you always cook your elderberries well first When you find a bush full of those gorgeous, deep purple berries, it’s a bit like discovering a hidden treasure. I always bring along a pair of scissors and a bucket or bag to collect them. Snip the clusters, let them fall into your container, and you’re set. Back at home, give the berries a good rinse to wash away any dirt or bugs, and let them dry on a towel. Here’s a trick I love: freeze the berries overnight in a bag. The next day, give the bag a shake, and the berries will pop right off the stems. It’s oddly satisfying and a great way to relieve some stress!
Starting a Garden in January
Dawn's Simple Life

Tips, Lessons, and Easy Steps

Starting a garden can be one of the most rewarding adventures. There’s something magical about growing your own food or flowers and watching them flourish. If you’re just beginning, or even if you’re revisiting your gardening journey, this guide will help you get started on the right foot — even in January!


Lessons from My Gardening Journey

When I first started my gardening journey, I was so excited that I went overboard. I planted too many varieties, created a space that was much larger than I could manage, and found myself overwhelmed. Some plants didn’t make it, and I ended up buried under a mountain of cherry tomatoes (they’re the overachievers of the garden world, after all!). But every challenge taught me something new, and now I approach gardening with a plan and a bit more patience.

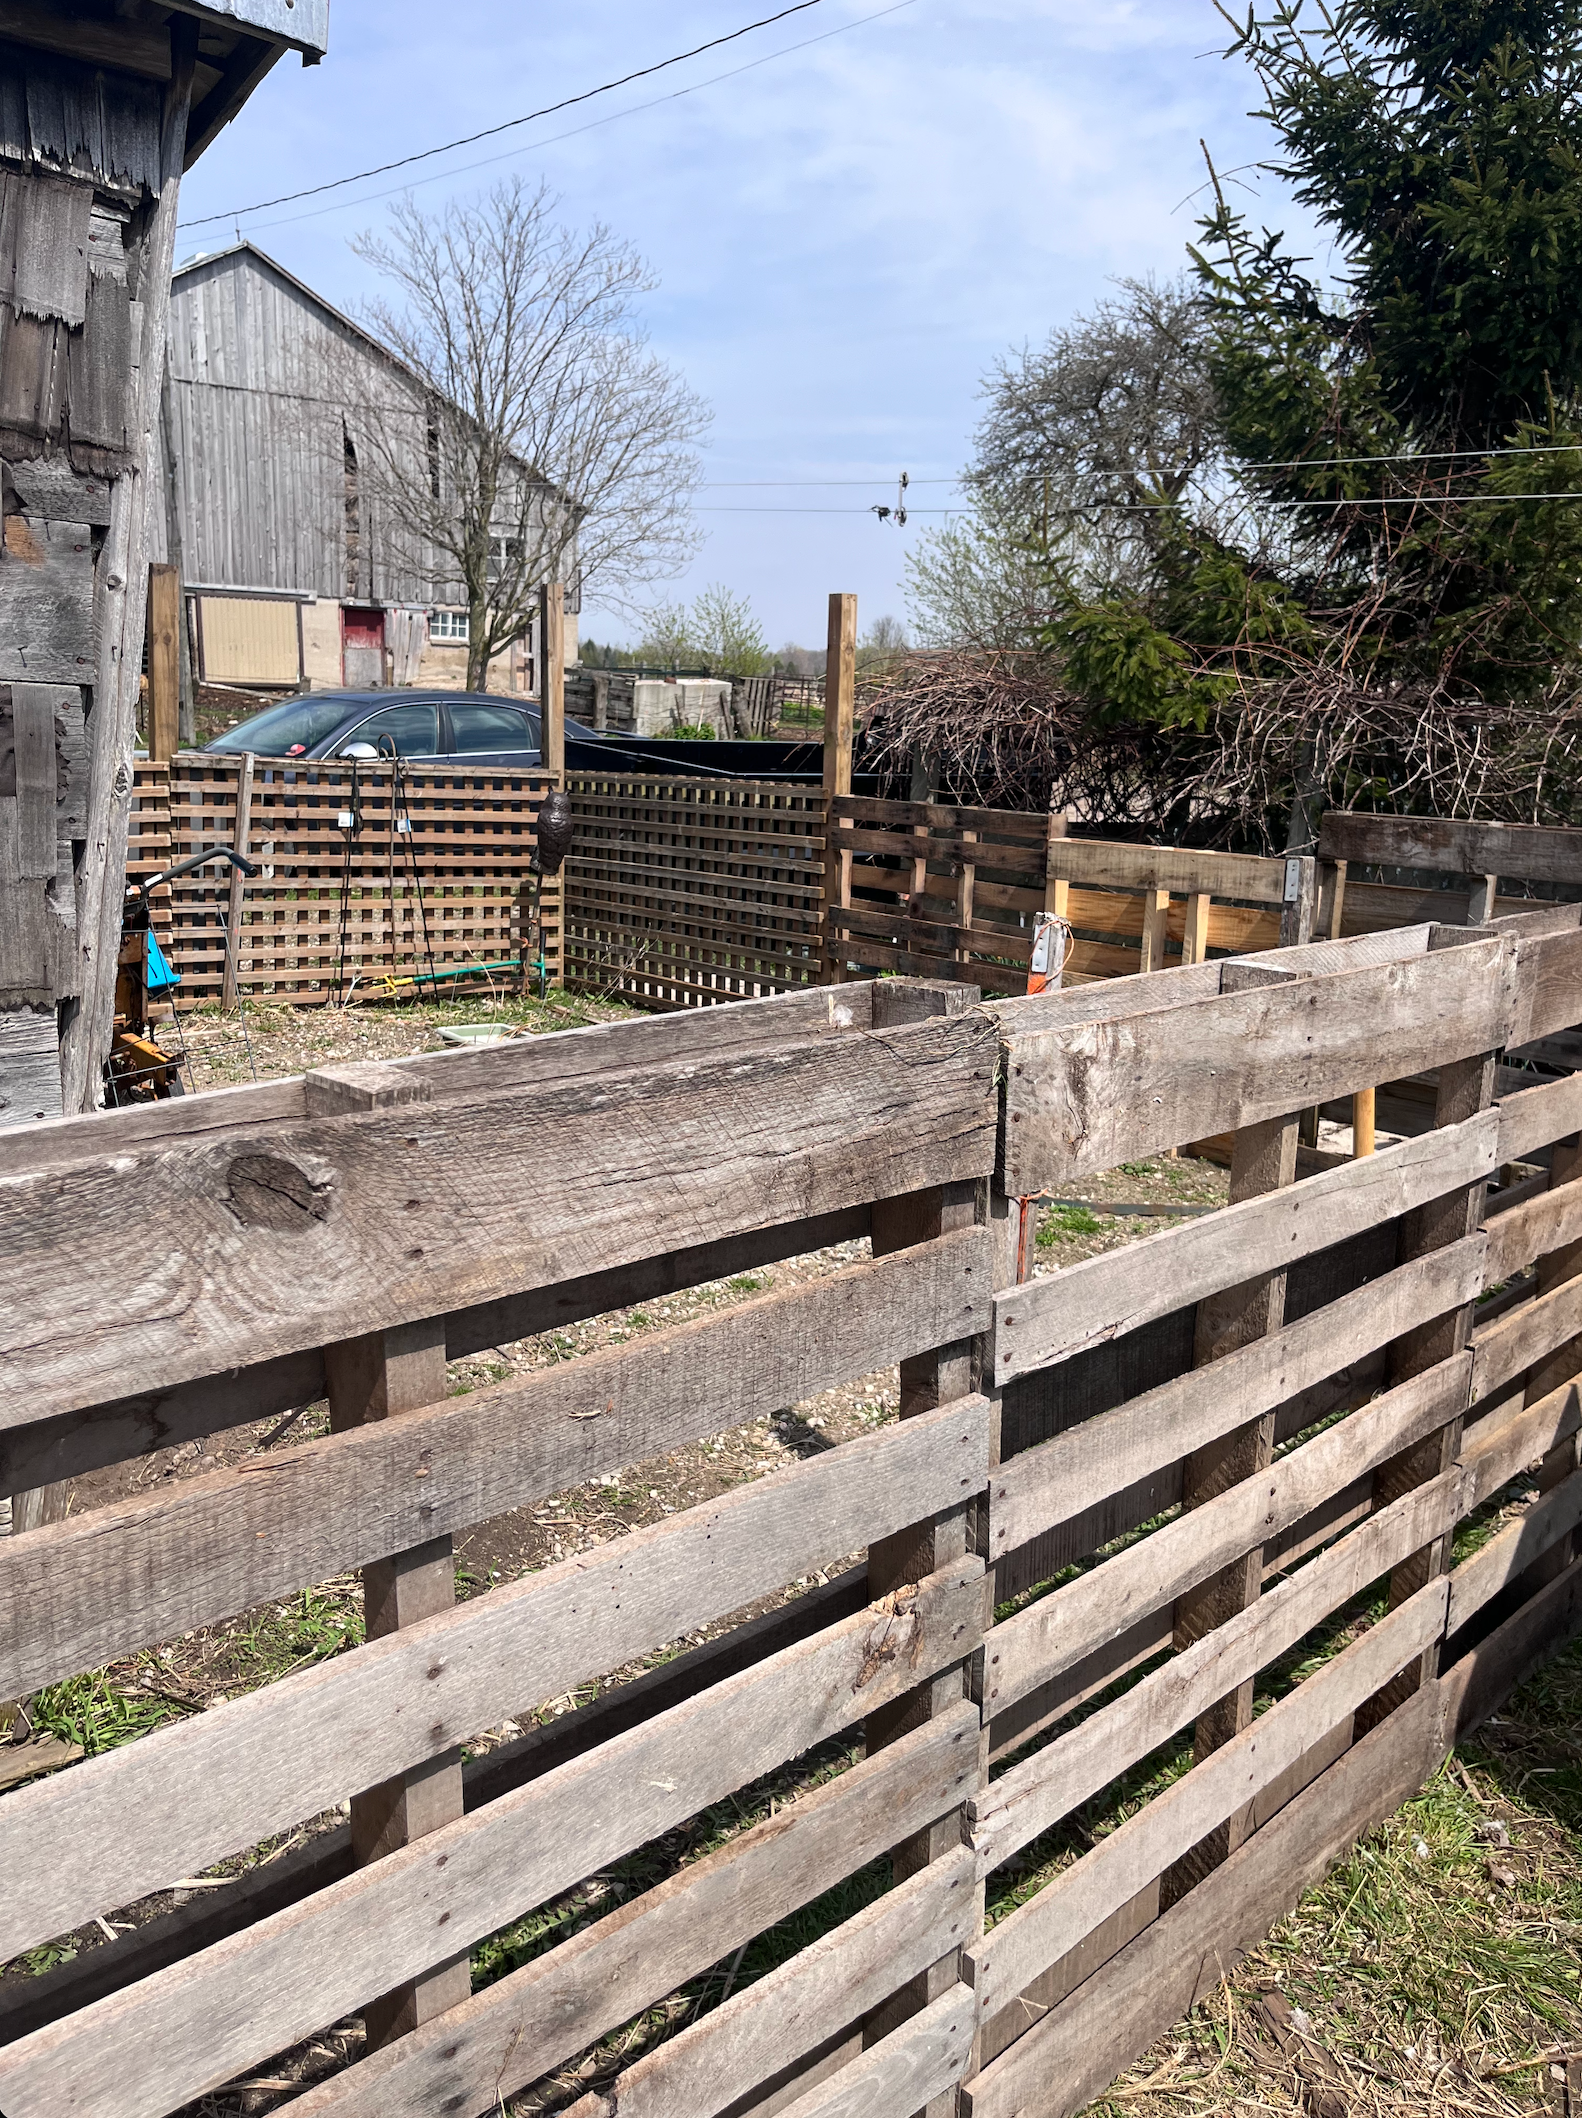
Over the last couple of years, I’ve expanded my garden and taken the time to research better what I plant and how to care for them. From enlarging the garden to building a pallet fence around it with a gate, I’ve added more towers for climbers using creative materials like a fence panel and old sun shelter supports. I’ve also been developing plans to turn my garden into a greenhouse, which will allow me to provide fresh vegetables year-round. These changes have made gardening not only more productive but also more enjoyable.


Steps to Start Your Garden

  1. Choose Your Space Decide where your garden will grow. Will it be outdoors in raised beds, containers on your patio, or indoors for seed starting? Look for areas that get at least 6 hours of sunlight daily. If you’re indoors, consider investing in grow lights.
  2. Plan Your Layout Sketch out a simple plan. Group plants with similar sunlight, water, and soil needs. If you’re starting small, focus on a few plants you love and know you’ll use often.
  3. Prepare Your Soil Healthy soil is the foundation of a successful garden. If planting outdoors, test your soil and add compost or organic matter to enrich it. For indoor seed starting, use a high-quality seed-starting mix.
  4. Start Small It’s tempting to grow everything, but trust me: start with a few manageable plants. You’ll thank yourself later.
  5. Seed Starting Basics
  • Use seed trays or soil blocks (more on that below) with a good seed-starting mix.
  • Follow the depth instructions on your seed packets.
  • Keep soil consistently moist and provide warmth and light. A heat mat can help with germination if your space runs cool.


What to Plant in January

January is perfect for starting seeds indoors. Here are a few ideas:

  • Vegetables: Onions, leeks, celery, broccoli, cabbage, and kale.
  • Herbs: Parsley, chives, and basil.
  • Flowers: Snapdragons, pansies, and petunias.
  • Outdoors (if mild or using cold frames): Garlic (if not already planted), spinach, arugula, and mache.


My Current Garden Project: Onions!

This year, I’m starting my onions indoors using soil blocking. Soil blocking is a game-changer for seed starting! Here’s how I did it:

  1. Create the Soil Blocks: Using a soil block maker, I formed small blocks of soil starting mix. These compact blocks provide an ideal environment for seedling roots.
  2. Plant the Seeds: I placed one onion seed into each soil block.
  3. Maintain Heat and Moisture: To keep the seeds cozy, I covered the blocks with a clear plastic dome and placed them on a heat mat. This ensures consistent warmth and retains moisture for germination.

I love this method because it saves space and eliminates the need for seed trays. It also encourages strong root systems since the plants grow naturally without the restrictions of plastic cells.


Keep Learning and Growing

Gardening is a continuous journey. It’s okay to make mistakes — that’s how you learn! Start small, stay curious, and enjoy the process. Whether you’re starting seeds indoors, prepping your garden beds, or simply dreaming of spring, every step brings you closer to your gardening goals.

Let’s grow something beautiful together! 🌱


More Dawn's Simple Life inspirations

A bunch of elderberries are surrounded by white flowers
September 2, 2024
Summer’s wrapping up, and while we might be doing a happy dance as the kids head back to school, we all know what’s lurking around the corner—the dreaded back-to-school cold. But don’t worry, I’ve got a little secret that’s been a game-changer for my family: elderberry syrup. Why I Swear by Elderberries * These tiny, dark berries are like nature’s multivitamins. They’re packed with antioxidants and vitamins that help boost your immune system, making them a perfect defense against colds and the flu. And if you’re already starting to feel that scratchy throat or stuffy nose, elderberry syrup can help lessen the symptoms. It’s like having a natural, sweet-tasting remedy that actually works. Where to Find Elderberries If you’re lucky enough to live in the countryside, you might just find elderberry bushes on a walk or drive. They love soaking up the sun, so check along roadsides or open fields. There’s something satisfying about picking your own berries, knowing you’re gathering the good stuff straight from nature. But if foraging isn’t in the cards (or you’re just not up for it), don’t worry! You can easily order organic elderberries online and have them delivered right to your door. It’s like having a little piece of nature shipped directly to you. Harvesting Elderberries: My Favorite Part Some varieties of elderberries can be toxic when eaten raw – the best way to avoid this is to make sure you always cook your elderberries well first When you find a bush full of those gorgeous, deep purple berries, it’s a bit like discovering a hidden treasure. I always bring along a pair of scissors and a bucket or bag to collect them. Snip the clusters, let them fall into your container, and you’re set. Back at home, give the berries a good rinse to wash away any dirt or bugs, and let them dry on a towel. Here’s a trick I love: freeze the berries overnight in a bag. The next day, give the bag a shake, and the berries will pop right off the stems. It’s oddly satisfying and a great way to relieve some stress!

Share