A bunch of elderberries are surrounded by white flowers
September 2, 2024
Summer’s wrapping up, and while we might be doing a happy dance as the kids head back to school, we all know what’s lurking around the corner—the dreaded back-to-school cold. But don’t worry, I’ve got a little secret that’s been a game-changer for my family: elderberry syrup. Why I Swear by Elderberries * These tiny, dark berries are like nature’s multivitamins. They’re packed with antioxidants and vitamins that help boost your immune system, making them a perfect defense against colds and the flu. And if you’re already starting to feel that scratchy throat or stuffy nose, elderberry syrup can help lessen the symptoms. It’s like having a natural, sweet-tasting remedy that actually works. Where to Find Elderberries If you’re lucky enough to live in the countryside, you might just find elderberry bushes on a walk or drive. They love soaking up the sun, so check along roadsides or open fields. There’s something satisfying about picking your own berries, knowing you’re gathering the good stuff straight from nature. But if foraging isn’t in the cards (or you’re just not up for it), don’t worry! You can easily order organic elderberries online and have them delivered right to your door. It’s like having a little piece of nature shipped directly to you. Harvesting Elderberries: My Favorite Part Some varieties of elderberries can be toxic when eaten raw – the best way to avoid this is to make sure you always cook your elderberries well first When you find a bush full of those gorgeous, deep purple berries, it’s a bit like discovering a hidden treasure. I always bring along a pair of scissors and a bucket or bag to collect them. Snip the clusters, let them fall into your container, and you’re set. Back at home, give the berries a good rinse to wash away any dirt or bugs, and let them dry on a towel. Here’s a trick I love: freeze the berries overnight in a bag. The next day, give the bag a shake, and the berries will pop right off the stems. It’s oddly satisfying and a great way to relieve some stress!
Canning Homemade Spaghetti Sauce
Dawn's Simple Life

A Labor of Love from Garden to Jar
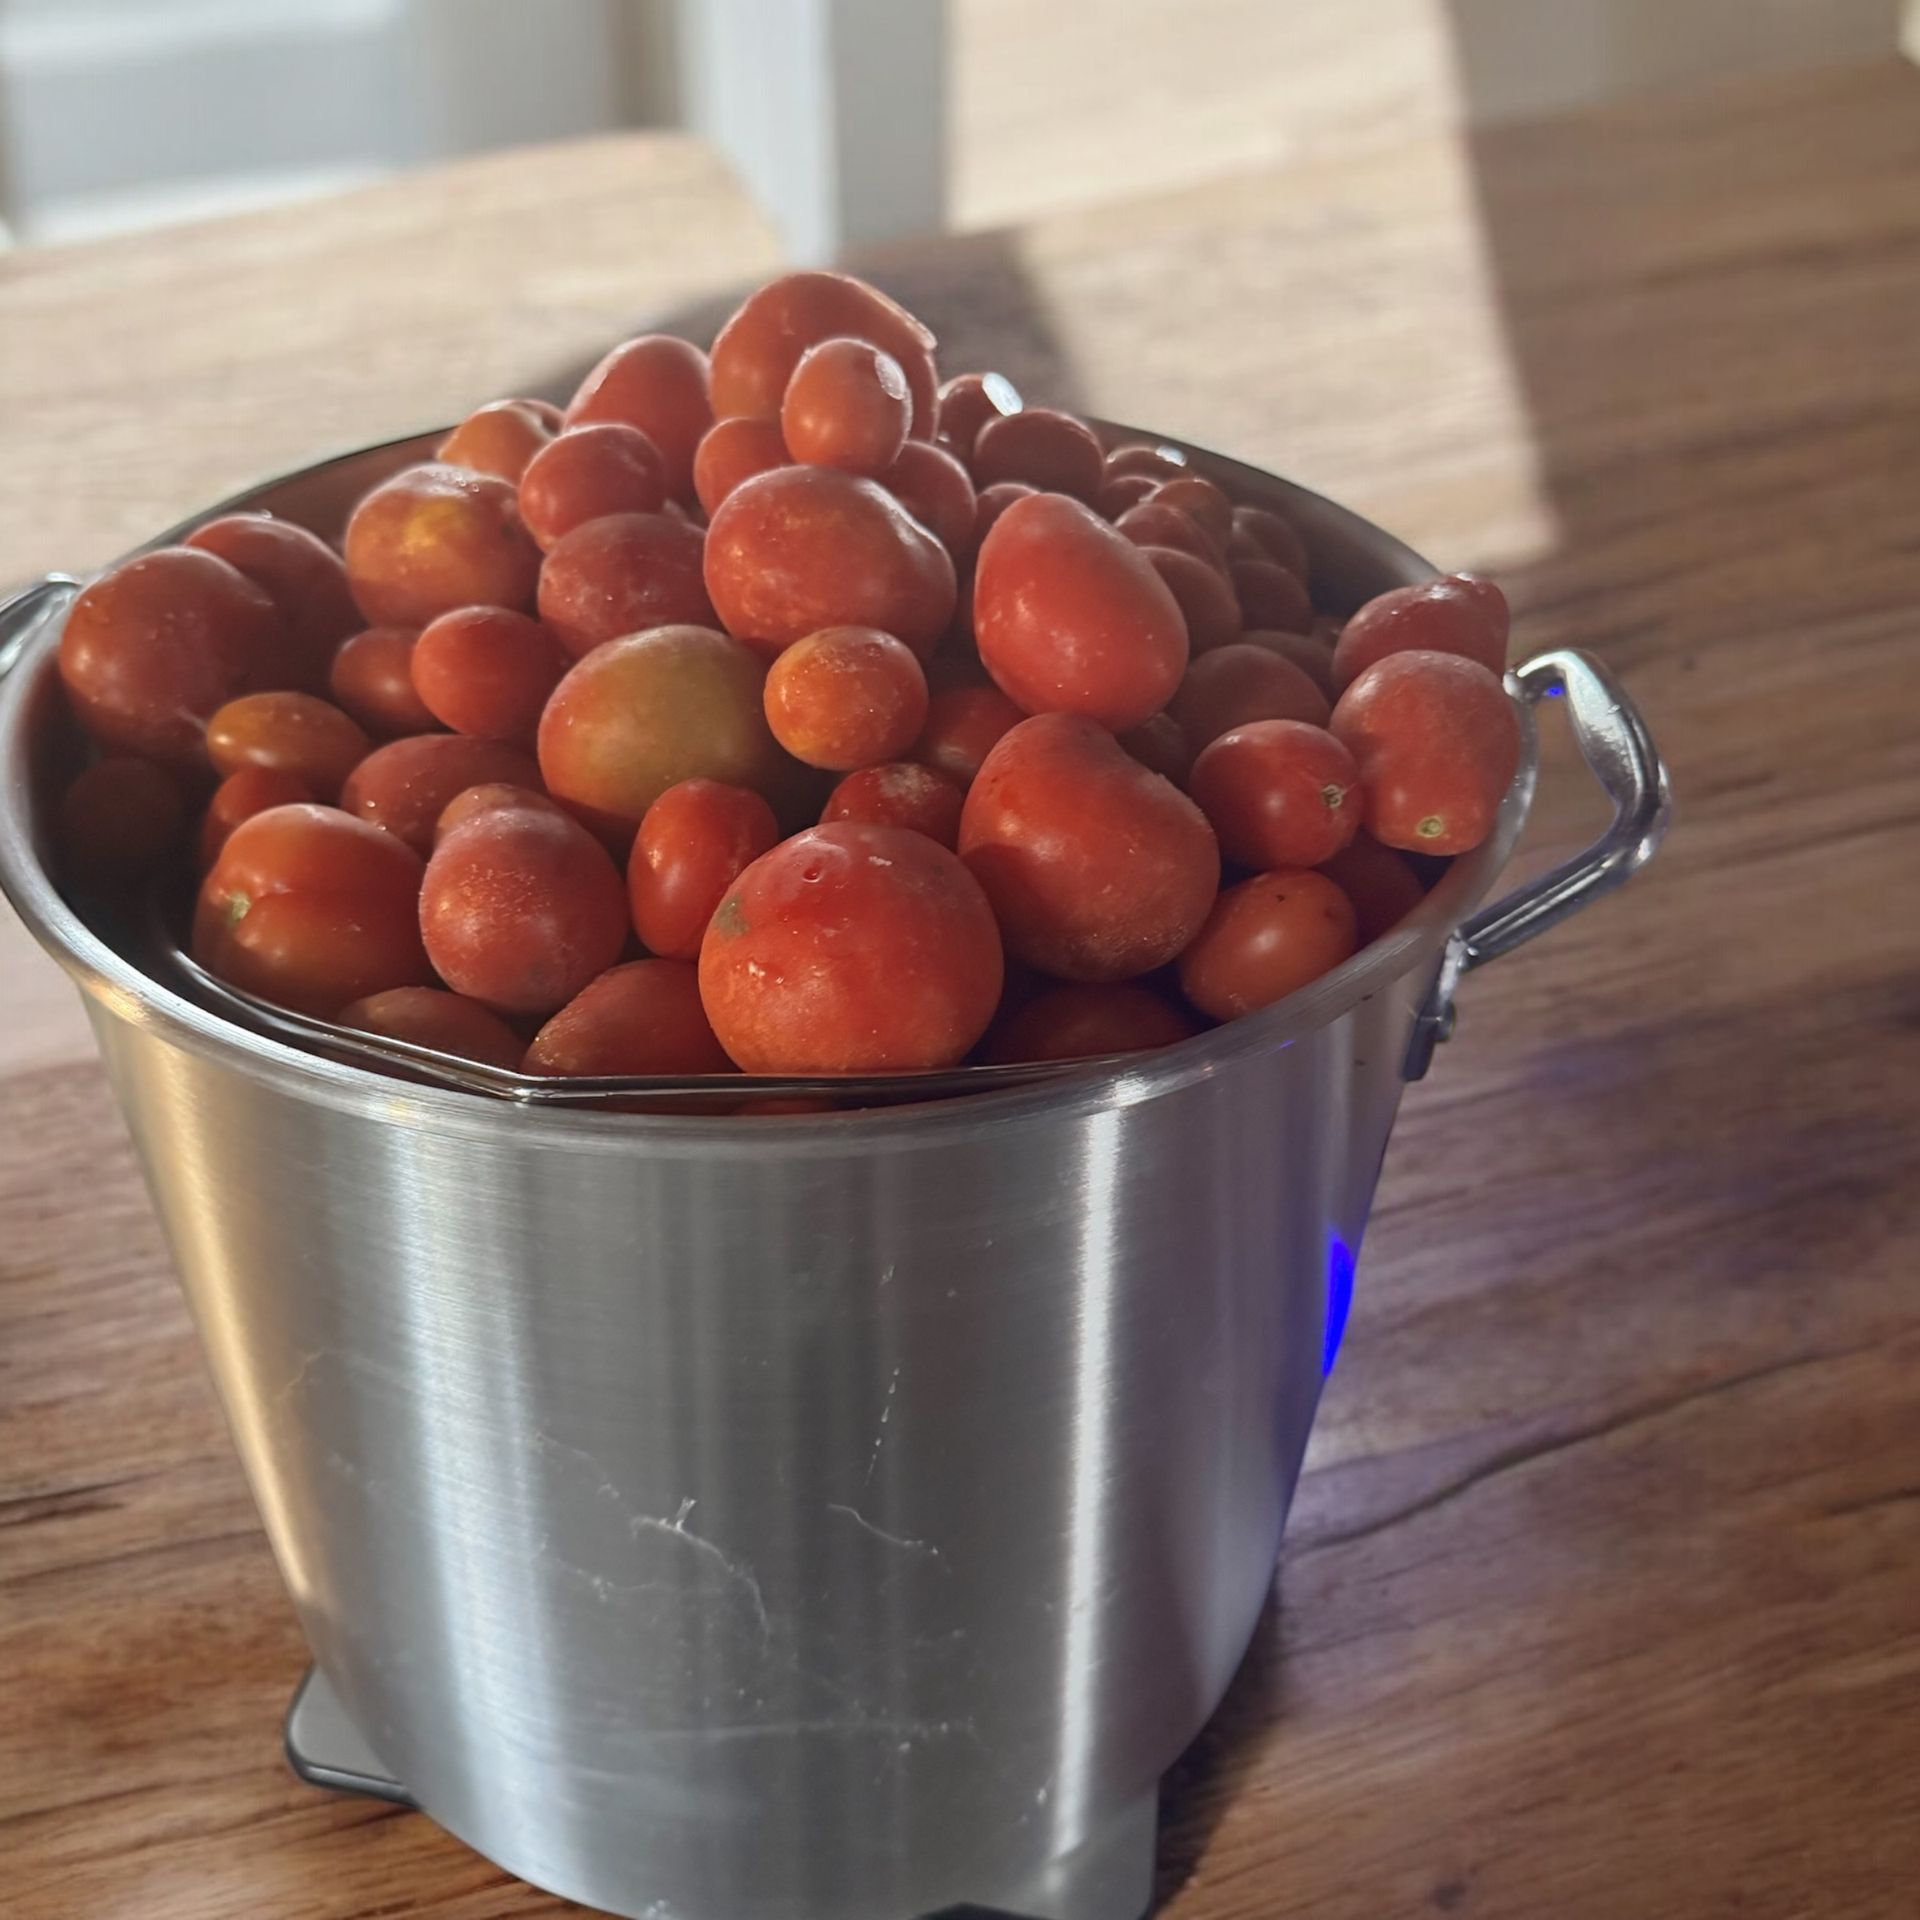
Finally! After months of planning, planting, and patiently tending to my garden, I’ve found the time to process the 40 pounds of tomatoes I froze from this year’s harvest. And just in time, as we ran out of last year’s spaghetti sauce stock! These jars aren’t just filled with sauce; they’re filled with months of care, love, and hard work. 


From planting tiny seeds in the spring, to watering and weeding all summer, to picking each tomato as it ripened and tucking them away in the freezer until the time was right, this process has been a true homesteader’s journey. Let me take you through how I turn my garden’s bounty into delicious jars of homemade spaghetti sauce. 


The Process: From Tomato to Sauce 


1. Thaw and Skin the Tomatoes 


Since I froze my tomatoes as they ripened, the first step was to thaw them. Once thawed, the skins slipped off easily—a great time-saver! 


2. Tomato Press Magic


Earlier this year, I invested in a Tomato Press and Sauce Maker, and let me tell you—it was worth every penny! 


- I placed the thawed tomatoes into the press and used the plunger to guide them through. 

- As I cranked the handle, the press worked its magic, separating the juicy tomato pulp and meat into one bowl while pushing the seeds and skins into another. 


Waste Not, Want Not:
The seeds and skins didn’t go to waste. I dehydrated them, blitzed them into a fine powder, and stored it for later use. This powder is perfect for adding a burst of tomato flavor to soups, stews, or even as a base for tomato paste. 


3. Simmer and Season


Once all the tomatoes were processed, I poured the juice and pulp into a large pot and added herbs I had dried earlier from my garden: basil, mint, and oregano. I also added a touch of salt, a little sugar for balance, and some lemon zest or juice for brightness. 


I let the sauce simmer on low heat, stirring regularly, until it reached the consistency I wanted—thick and flavorful, just the way we like it. 


Tip:
If you run out of time, like I did, you can let the sauce cool and store it in the fridge to can the next day. 


Canning the Sauce


The Basics


The golden rule of canning is: *hot product, hot jar, hot water; cold product, cold jar, cold water.* Since my sauce was cold, I started with cold jars and cold water. 


Step-by-Step  


1. Sterilize the Jars:
Clean quart jars thoroughly. 


2. Fill the Jars:
Pour the sauce into the jars, leaving 1 inch of headspace (typically at the base of the neck). 


3. Clean the Rims:
Wipe the rims with vinegar to remove any sauce residue, which helps ensure a good seal. 


4. Seal the Jars:
Place lids and rings on the jars, tightening them just finger-tight. 


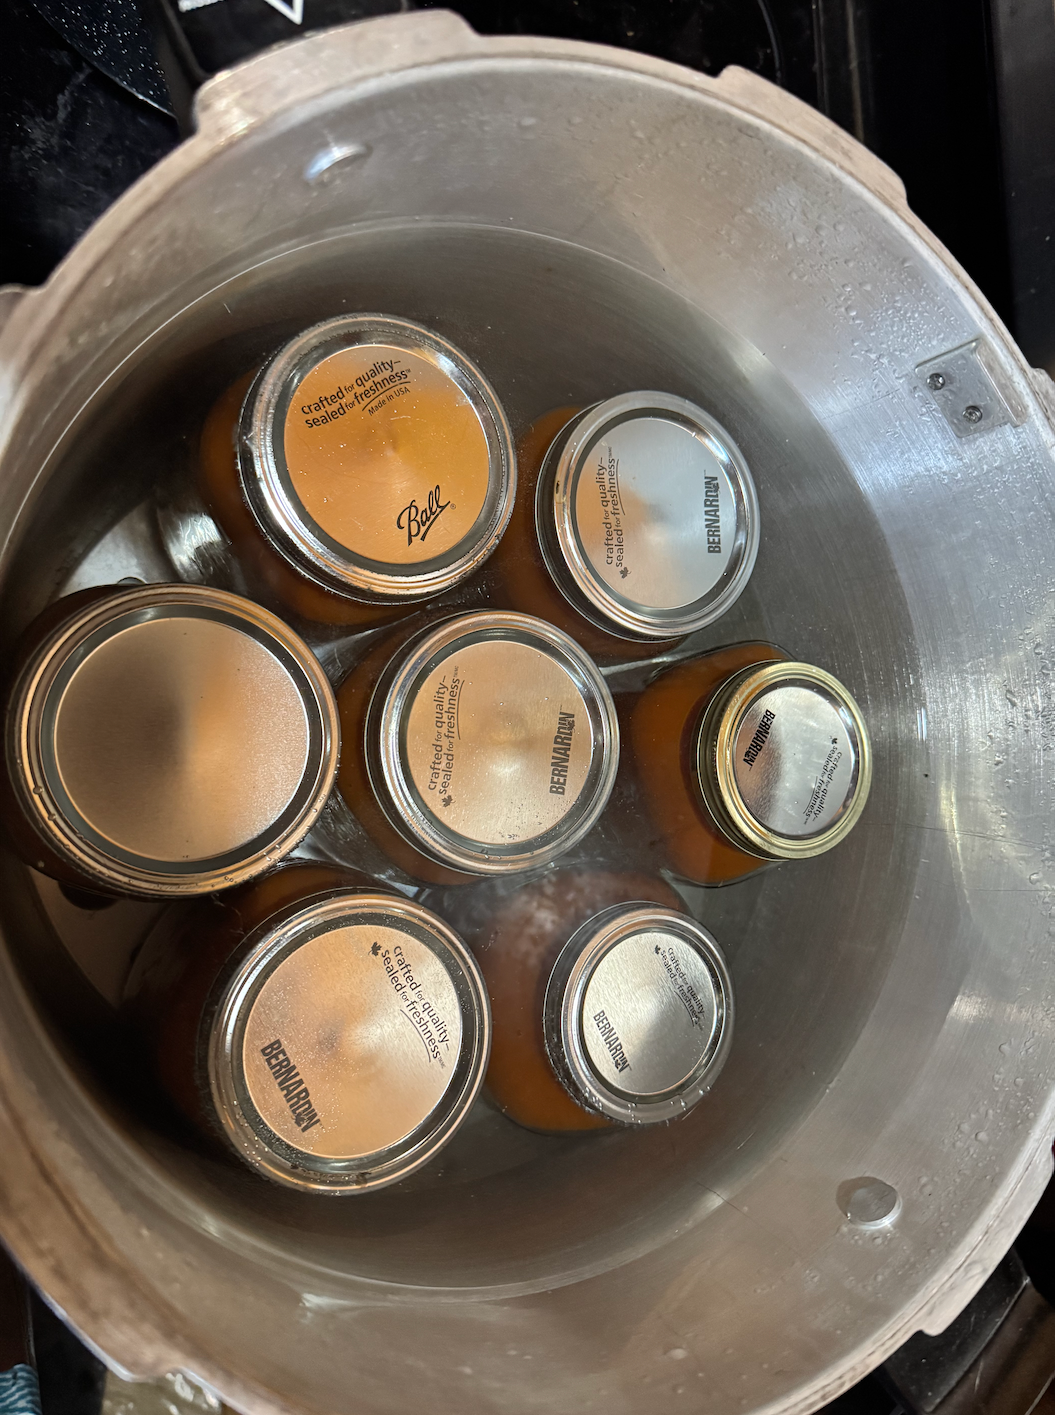
5. Water Bath Canning:
 

   - Place the jars in a water bath canner. 

   - Fill with cold water to cover the jars by at least 1 inch. 

   - Bring to a boil and process for 30 minutes. 


6. Cool and Store:
Carefully remove the jars with tongs and set them on a towel to cool undisturbed for 24 hours. 


After 24 hours, check the seals (the lids shouldn’t flex when pressed), remove the rings, label the jars, and store them in a cool, dark place. 


Why Canning Spaghetti Sauce is Worth It


Homemade spaghetti sauce isn’t just about saving money (though it’s a nice perk!). It’s about knowing exactly what’s in your food, capturing the flavor of homegrown tomatoes, and having the satisfaction of seeing your hard work lined up on the pantry shelves. 


Whether it’s for a quick weeknight dinner or a big family gathering, these jars of sauce are ready to bring a taste of summer to our table all winter long. 


Do You Can Your Own Sauce?  


I’d love to hear your tips, tricks, or favorite recipes for canning! Share your canning adventures in the comments or tag me on social media with your creations. Let’s inspire each other to keep the homestead spirit alive—one jar at a time! 


From my homestead to yours, happy canning! 🍅✨ 


More Dawn's Simple Life inspirations

A bunch of elderberries are surrounded by white flowers
September 2, 2024
Summer’s wrapping up, and while we might be doing a happy dance as the kids head back to school, we all know what’s lurking around the corner—the dreaded back-to-school cold. But don’t worry, I’ve got a little secret that’s been a game-changer for my family: elderberry syrup. Why I Swear by Elderberries * These tiny, dark berries are like nature’s multivitamins. They’re packed with antioxidants and vitamins that help boost your immune system, making them a perfect defense against colds and the flu. And if you’re already starting to feel that scratchy throat or stuffy nose, elderberry syrup can help lessen the symptoms. It’s like having a natural, sweet-tasting remedy that actually works. Where to Find Elderberries If you’re lucky enough to live in the countryside, you might just find elderberry bushes on a walk or drive. They love soaking up the sun, so check along roadsides or open fields. There’s something satisfying about picking your own berries, knowing you’re gathering the good stuff straight from nature. But if foraging isn’t in the cards (or you’re just not up for it), don’t worry! You can easily order organic elderberries online and have them delivered right to your door. It’s like having a little piece of nature shipped directly to you. Harvesting Elderberries: My Favorite Part Some varieties of elderberries can be toxic when eaten raw – the best way to avoid this is to make sure you always cook your elderberries well first When you find a bush full of those gorgeous, deep purple berries, it’s a bit like discovering a hidden treasure. I always bring along a pair of scissors and a bucket or bag to collect them. Snip the clusters, let them fall into your container, and you’re set. Back at home, give the berries a good rinse to wash away any dirt or bugs, and let them dry on a towel. Here’s a trick I love: freeze the berries overnight in a bag. The next day, give the bag a shake, and the berries will pop right off the stems. It’s oddly satisfying and a great way to relieve some stress!

Share