
A Simple, Fresh Alternative

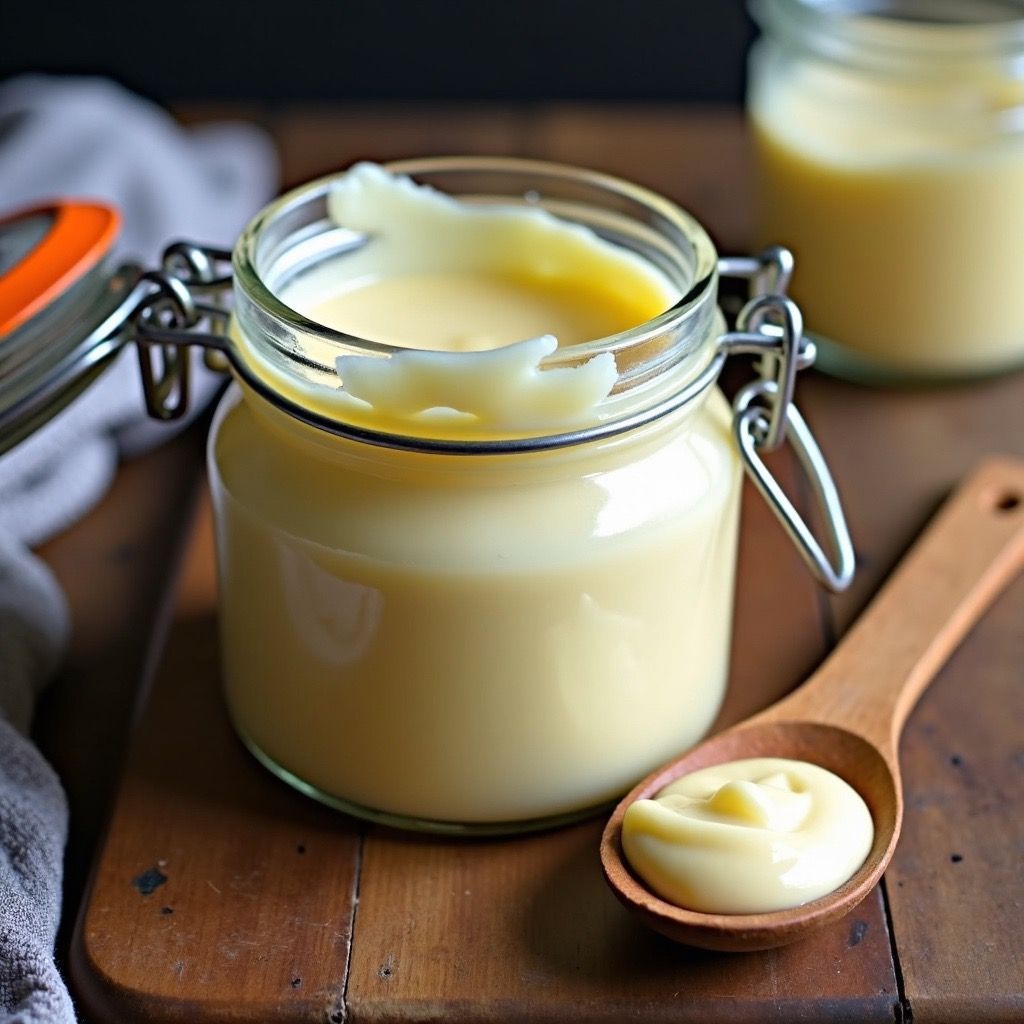
In our household, mayonnaise isn’t something we use in large quantities, so buying a jar just to have it sit in the fridge until it spoils feels wasteful. That’s when I realized making it from scratch was not only easier but also much more practical. With fresh eggs from our chickens, I can make just enough mayonnaise for what we need, and I love knowing exactly what’s in it. Plus, it’s a great way to save money and reduce waste.
Homemade mayonnaise is surprisingly simple to whip up, and once you try it, you’ll never want to go back to store-bought again. It takes only a few minutes to make, and it’s customizable to your taste!
Why Make Homemade Mayonnaise?
1. Freshness: You can’t beat the flavor of freshly made mayonnaise. Without preservatives or unnecessary additives, it’s creamier, lighter, and tastes better than anything you’ll find in a jar.
2. Cost-Effective: If you’re already raising chickens, using your own fresh eggs makes this even more budget-friendly. You’re also less likely to waste anything because you can make small batches tailored to your needs.
3. Control Over Ingredients: Making your own mayonnaise means you get to control exactly what goes into it. You can adjust the flavor to your liking—add more garlic for extra zing or a bit more salt for that savory touch.
4. No Waste: If you only need a small amount of mayonnaise, homemade is the way to go. You’re not stuck with half a jar sitting in your fridge for months.
How to Make Homemade Mayonnaise
Ingredients:
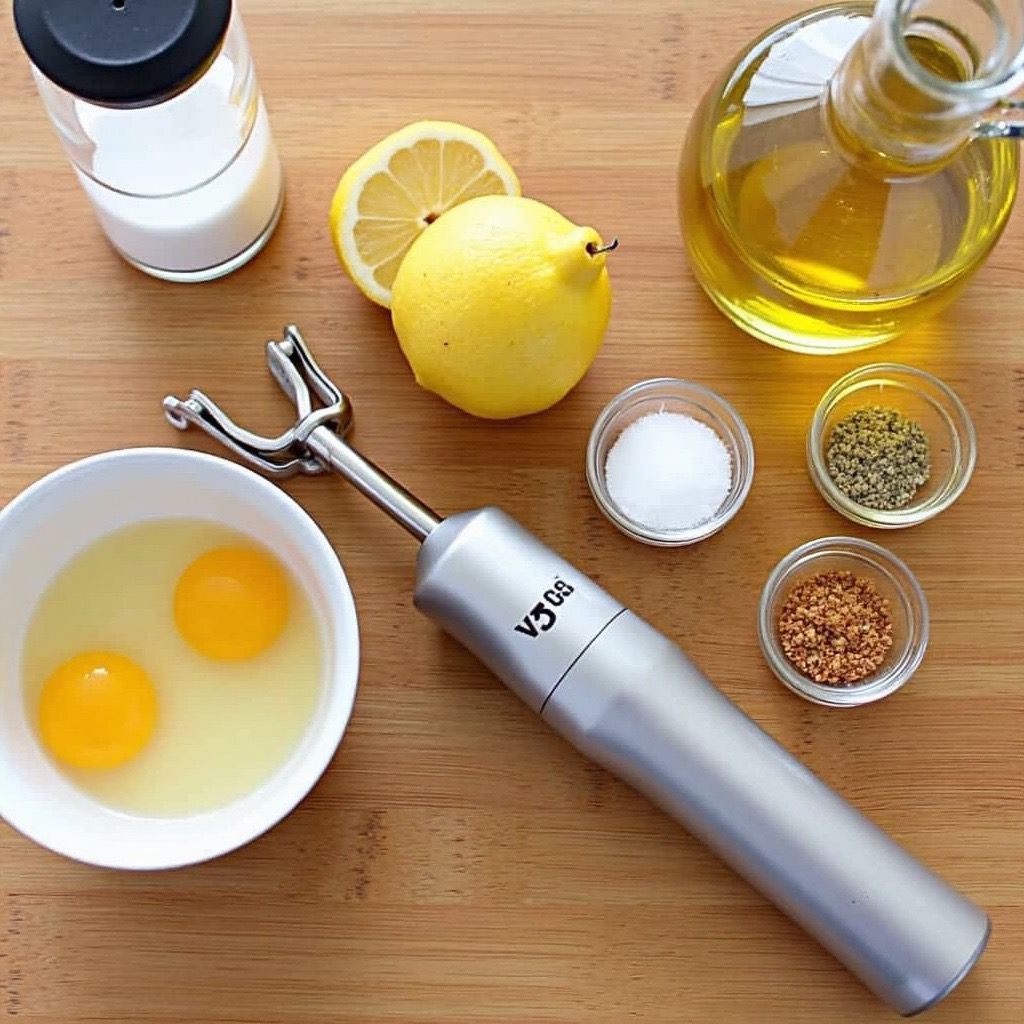
- 1 cup light oil (vegetable or light olive oil work well)
- 1 fresh egg
- 2 ½ teaspoons fresh lemon juice (for a touch of tang and to help emulsify)
- ¼ teaspoon salt (adjust to taste)
- ¼ teaspoon garlic powder
- ¼ teaspoon onion powder
- Pinch of pepper (optional, adjust to taste)
Instructions:
1. Prep your jar:
Crack one fresh egg into the bottom of a wide-mouth mason jar.
2. Add your ingredients: Pour in the oil, lemon juice, salt, garlic powder, onion powder, and pepper.
3. Blend: Place your immersion blender at the bottom of the jar. Without moving it, turn the blender on high speed for about 10 seconds. You’ll start to see the oil emulsify with the egg to create that familiar mayo texture.
4. Finish blending:
After the initial 10 seconds, move the blender around and up and down to fully incorporate the oil. Keep blending until the mixture turns into smooth, creamy mayonnaise.
5. Store: Transfer the mayonnaise to an airtight container. It will last in the fridge for up to one week.
Tips for the Perfect Homemade Mayo
1. Room Temperature Ingredients:
If your egg or oil is too cold, it can cause the mayonnaise to break or not emulsify properly. Make sure your egg is at room temperature before you begin.
2. The Right Oil:
Choose a neutral-flavored oil, like vegetable or a light olive oil, so it doesn’t overpower the flavor of the mayo. Extra virgin olive oil, while healthy, can taste a bit too strong for homemade mayonnaise.
3. Immersion Blender vs. Regular Blender: An immersion blender works wonders because you can blend everything directly in the jar you’ll store it in, which also cuts down on dishes. But if you don’t have one, a regular blender will do the trick—just add the oil very slowly while blending to help it emulsify.
4. Flavor Variations:
One of the joys of homemade mayo is that you can experiment with flavors! Add a pinch of smoked paprika for a smoky twist, a dab of Dijon mustard for extra tang, or a squeeze of sriracha if you like a bit of heat.
5. Don’t Over-Make:
Since homemade mayo doesn’t contain preservatives, it won’t last as long as store-bought. Only make what you’ll use within a week to ensure it stays fresh.
Why It’s Worth the Effort
I started making homemade mayonnaise when I realized how much better it tasted than store-bought. It's one of those things you don’t realize is easy until you try it. Plus, with chickens at home, it makes sense to use those fresh eggs. It’s all part of knowing where our food comes from and reducing unnecessary waste in our kitchen.
With this simple recipe, you can make fresh, creamy mayo that’s customized to your family’s taste—and never have to worry about half-empty jars going bad again.
Give this a try next time you need just a small amount of mayo, and I promise you’ll love how fresh and simple it is to make your own!
More Dawn's Simple Life inspirations
