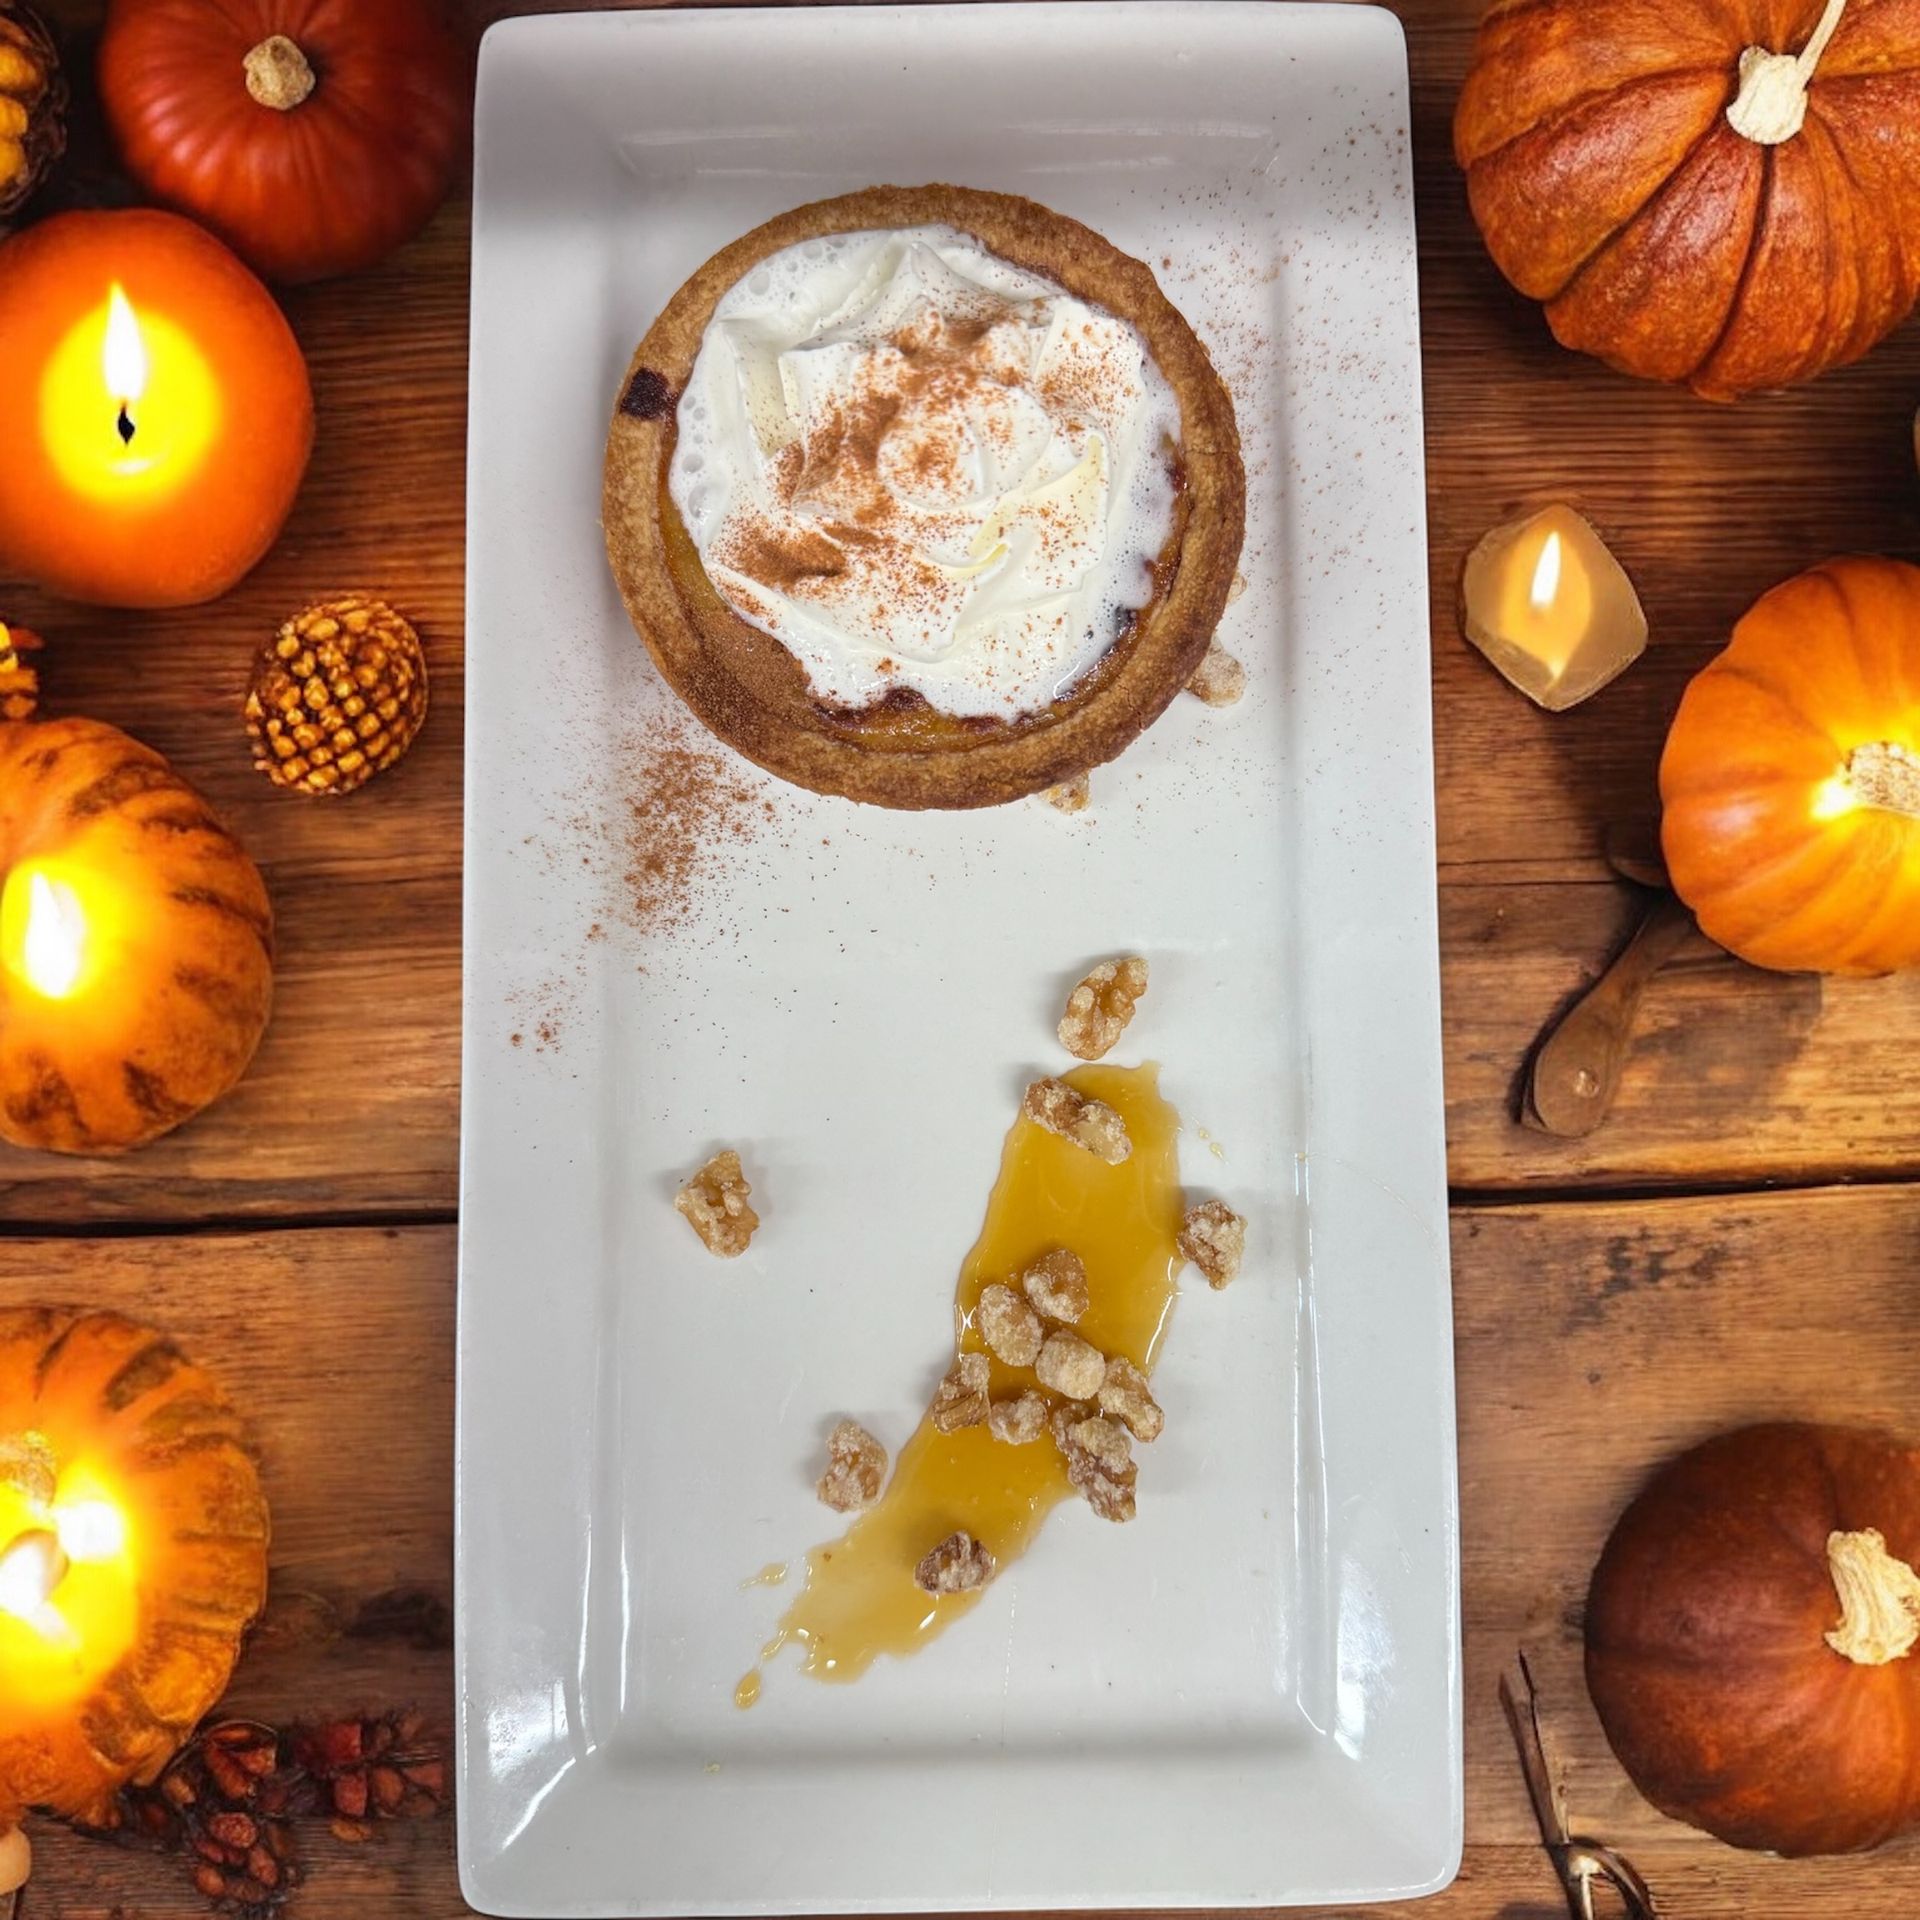

A Homemade Delight from Start to Finish

Holidays may be the perfect excuse to indulge in pie, but in our house, pie is a year-round treat! There’s something special about having a homemade pie on hand, and today, I’m sharing how to make one of our family favorites: pumpkin pie—from scratch, start to finish.
We’re lucky enough to have a friend who grows a large patch of pumpkins every year, so we always purchase ours fresh from her family. There’s something so rewarding about knowing exactly where your ingredients come from—and nothing beats the flavor of fresh, homemade pumpkin puree.
Every year at my work, I use this very pumpkin pie recipe for our Thanksgiving dinners, which we sell to guests. This year, I had a little mishap—I discovered that what I classify as a medium pumpkin isn’t what others do! I ended up buying way too many pumpkins, and after cooking them all down, I was left with about 100 pre-made pies and 17 liters of pumpkin puree, which I’ve since frozen. And, believe it or not, I still have 8 pumpkins sitting at home waiting to be cooked down. Needless to say, we’re all set on pumpkin pie for a while!
- Step 1: Preparing Your Pumpkin
- The first step in making a homemade pumpkin pie is prepping the pumpkin itself. Here’s how to do it:
1. Wash the pumpkin: Start by giving your pumpkin a good scrub to remove any dirt.
2. Cut in half: Place the pumpkin on a cutting board with a damp cloth underneath (this helps prevent slipping), and carefully cut it in half. Be patient—this part can take some effort!
3. Scoop out the insides: Use a spoon to scoop out the seeds and stringy guts, making sure to clean the inside thoroughly.
4. Poke holes: Use a fork to poke holes all over the pumpkin flesh. Then flip the pumpkin halves skin-side up on a baking tray.
5. Bake: Pierce the skin a few times to allow steam to escape, then bake at 350°F for about 40 minutes or until a knife can easily pierce through the flesh.
6. Cool and peel: Once baked, let the pumpkin cool until you can handle it. Peel off the skin and discard it.
7. Puree: Place the cooked pumpkin flesh into a bowl and blend until smooth using a blender or immersion blender.
---
Step 2: Making the Pie Dough
Now, let’s move on to the crust. Here’s a simple single-crust pie dough recipe:
Ingredients:
- 1 ¼ cups flour
- ½ tsp salt
- ⅓ cup shortening
- 4 tbsp water
- ½ cup brown sugar
- ½ tsp cinnamon
Instructions:
1. Combine flour and salt: In a mixing bowl, combine the flour and salt.
2. Cut in shortening: Cut in the shortening until the mixture becomes crumbly.
3. Add water: Gradually add water, tossing with a fork until a dough ball forms.
4. Roll out the dough: Roll the dough to your desired thickness and use the rolling pin to transfer it onto a 9-inch pie shell.
5. Trim and prep: Trim the edges of the dough and get ready to fill it with your pumpkin filling.
---
Step 3: Preparing the Pumpkin Pie Filling
Now that your pumpkin puree is ready and your pie crust is prepped, it’s time to make the filling!
Ingredients:
- 1 ½ cups scalded milk (instructions below)
- 1 tbsp flour
- 1 cup sugar
- 1 tsp ground ginger
- 1 tsp ground cinnamon
- ½ tsp mace
- ¼ tsp salt
- 1 ½ cups pumpkin puree
- 3 eggs, beaten
- ½ tsp nutmeg
Instructions:
1. Mix dry ingredients: In a bowl, combine the flour, sugar, spices, and salt.
2. Combine pumpkin and eggs: In a separate bowl, whisk together the pumpkin puree and beaten eggs.
3. Temper the milk: Gradually add the scalded milk to the pumpkin mixture using the tempering technique (more on that below) to prevent the eggs from cooking.
4. Stir and pour: Stir well until everything is combined, then pour the mixture into the pie crust. Make sure the filling is about ¼ inch deep.
5. Bake: Start by baking the pie at 450°F for 10 minutes, then reduce the heat to 350°F and bake for another 30 minutes, or until the filling is set and firm.
---
Step 4: How to Scald Milk
Scalding milk may seem like an extra step, but it’s important to ensure a smooth and creamy pumpkin pie filling. Here’s how to do it:
1. Heat the milk: Pour the milk into a medium saucepan with a thick bottom to prevent scorching. Place it over medium heat.
2. Stir frequently: Stir the milk often to prevent a skin from forming on top.
3. Look for bubbles: When small bubbles start forming around the edge of the milk and it begins to steam, remove it from the heat.
4. Cool slightly: Let the milk cool down to about 110°F before adding it to your pumpkin mixture.
---
Step 5: Tempering the Milk
Tempering is key when adding hot milk to your egg and pumpkin mixture. This technique helps prevent the eggs from scrambling by slowly raising their temperature.
Here’s how to temper:
1. Start by whisking the pumpkin and eggs together.
2. Slowly drizzle a little bit of the hot milk into the egg mixture while constantly whisking.
3. Once the egg mixture has warmed up slightly, you can add the rest of the milk gradually, whisking all the while.
---
Storing Leftover Pumpkin Puree
If you have leftover pumpkin puree after making your pie, there are a few ways you can store it for later use:
1. Freezing Pumpkin Puree: You can vacuum seal or simply place the puree in freezer-safe bags or containers. Flatten the bags before freezing to save space and for quicker thawing later. Pumpkin puree will last in the freezer for up to 3 months.
2. Freezing Pumpkin Pie Filling: You can also prepare the pie filling (without baking) and freeze it. Pour the filling into a vacuum-sealed bag or airtight container, then thaw when you're ready to bake your next pie.
3. Canning Pumpkin Puree (without eggs or dairy): It’s important to note that canning pumpkin puree is considered "rebel canning" because USDA guidelines recommend against it due to concerns about thickness and safety. However, many home canners do can pumpkin puree or pumpkin chunks without any eggs or dairy. If you decide to go this route, be sure to follow proper canning procedures, and always err on the side of safety.
---
Enjoy Your Homemade Pumpkin Pie!
Once your pie is baked to perfection, let it cool slightly before serving. Whether it’s a holiday celebration or just an ordinary day, this homemade pumpkin pie is bound to impress. The fresh pumpkin puree adds a depth of flavour you just can’t get from canned pumpkin, and the homemade crust ties it all together for a truly from-scratch experience.
Enjoy a slice with whipped cream, or if you’re like me, grab a fork and dig right in!
More Dawn's Simple Life inspirations
