
Simple, Delicious, and Healthier

Ever run out of peanut butter and wish you could whip some up on the spot? Well, if you’ve got some peanuts and a blender, you’re in luck! It’s really that simple to make homemade peanut butter, and it’s a treat we love in our house. Since the kids can’t take peanut butter to school, we don’t buy it often, but for those special occasions—like PB&J sandwiches, peanut butter cookies, or bars—it’s so nice to have fresh, homemade peanut butter ready.
What’s even better is how affordable it is compared to store-bought jars filled with preservatives, additives, and unnecessary oils. Buying peanuts in bulk is much cheaper, and when you make it yourself, you know exactly what’s going into it.
Why Make Homemade Peanut Butter?
1. Cost-Effective:
Peanuts are typically much cheaper than pre-packaged peanut butter, and making it yourself means you get more for your money.
2. Control Over Ingredients: When you make your own peanut butter, you get to decide exactly how much salt and flavor goes in. No hidden oils or preservatives—just pure, fresh peanut butter.
3. Fresh and Customizable:
Homemade peanut butter tastes incredibly fresh, and you can adjust the flavor and texture to your liking. Want it saltier? Add a pinch of sea salt. Prefer chunky? Don’t process it as long. You’re in control.
Homemade Peanut Butter Recipe
Ingredients:
- 3 cups dry roasted peanuts (salted or unsalted)
- Sea salt to taste (if using unsalted peanuts)
Instructions:
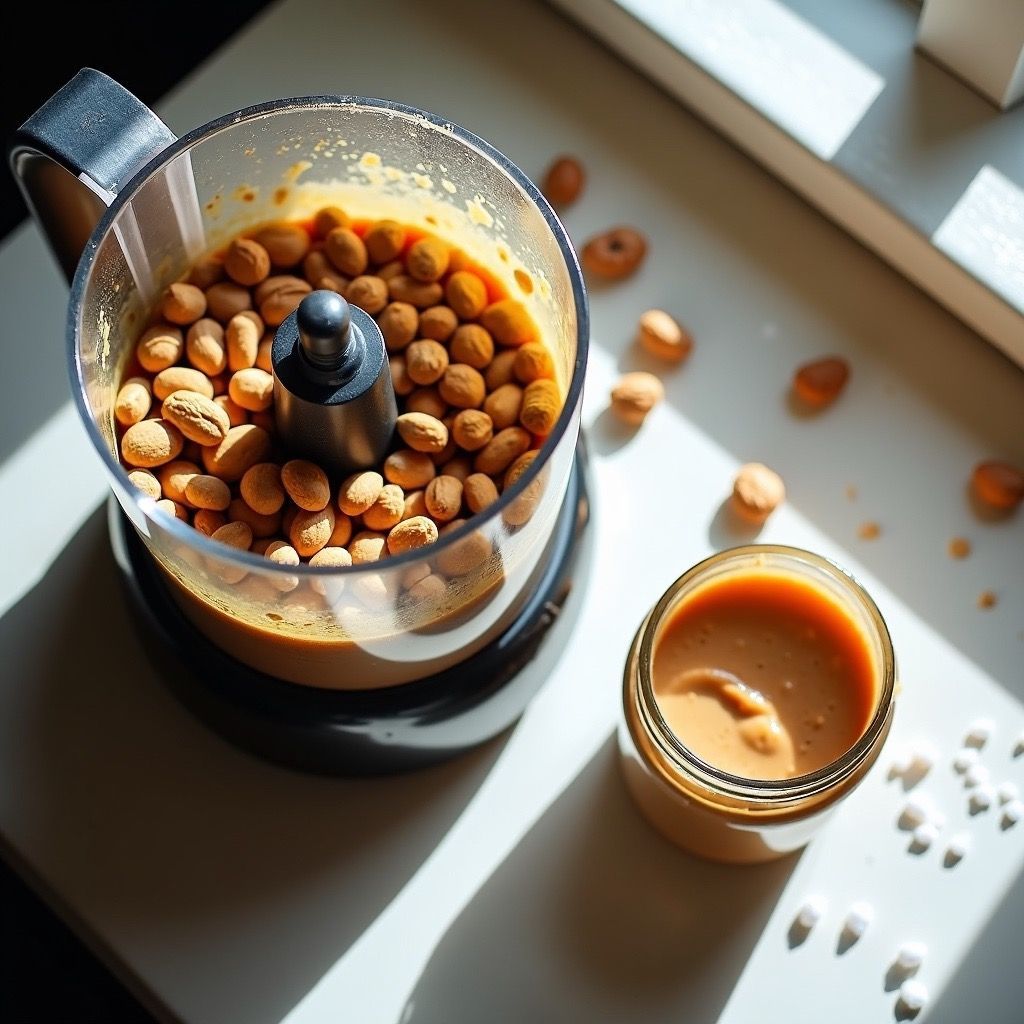
1. Prepare the peanuts: Place the peanuts in a medium food processor. You can use either salted or unsalted peanuts. If you’re using unsalted peanuts, add a pinch of sea salt to taste.
2. Process: Start the food processor and let it work. The peanuts will first break down into a crumbly texture. Stop the processor every 30 seconds to scrape down the sides and give the motor a break.
3. From chunky to creamy:
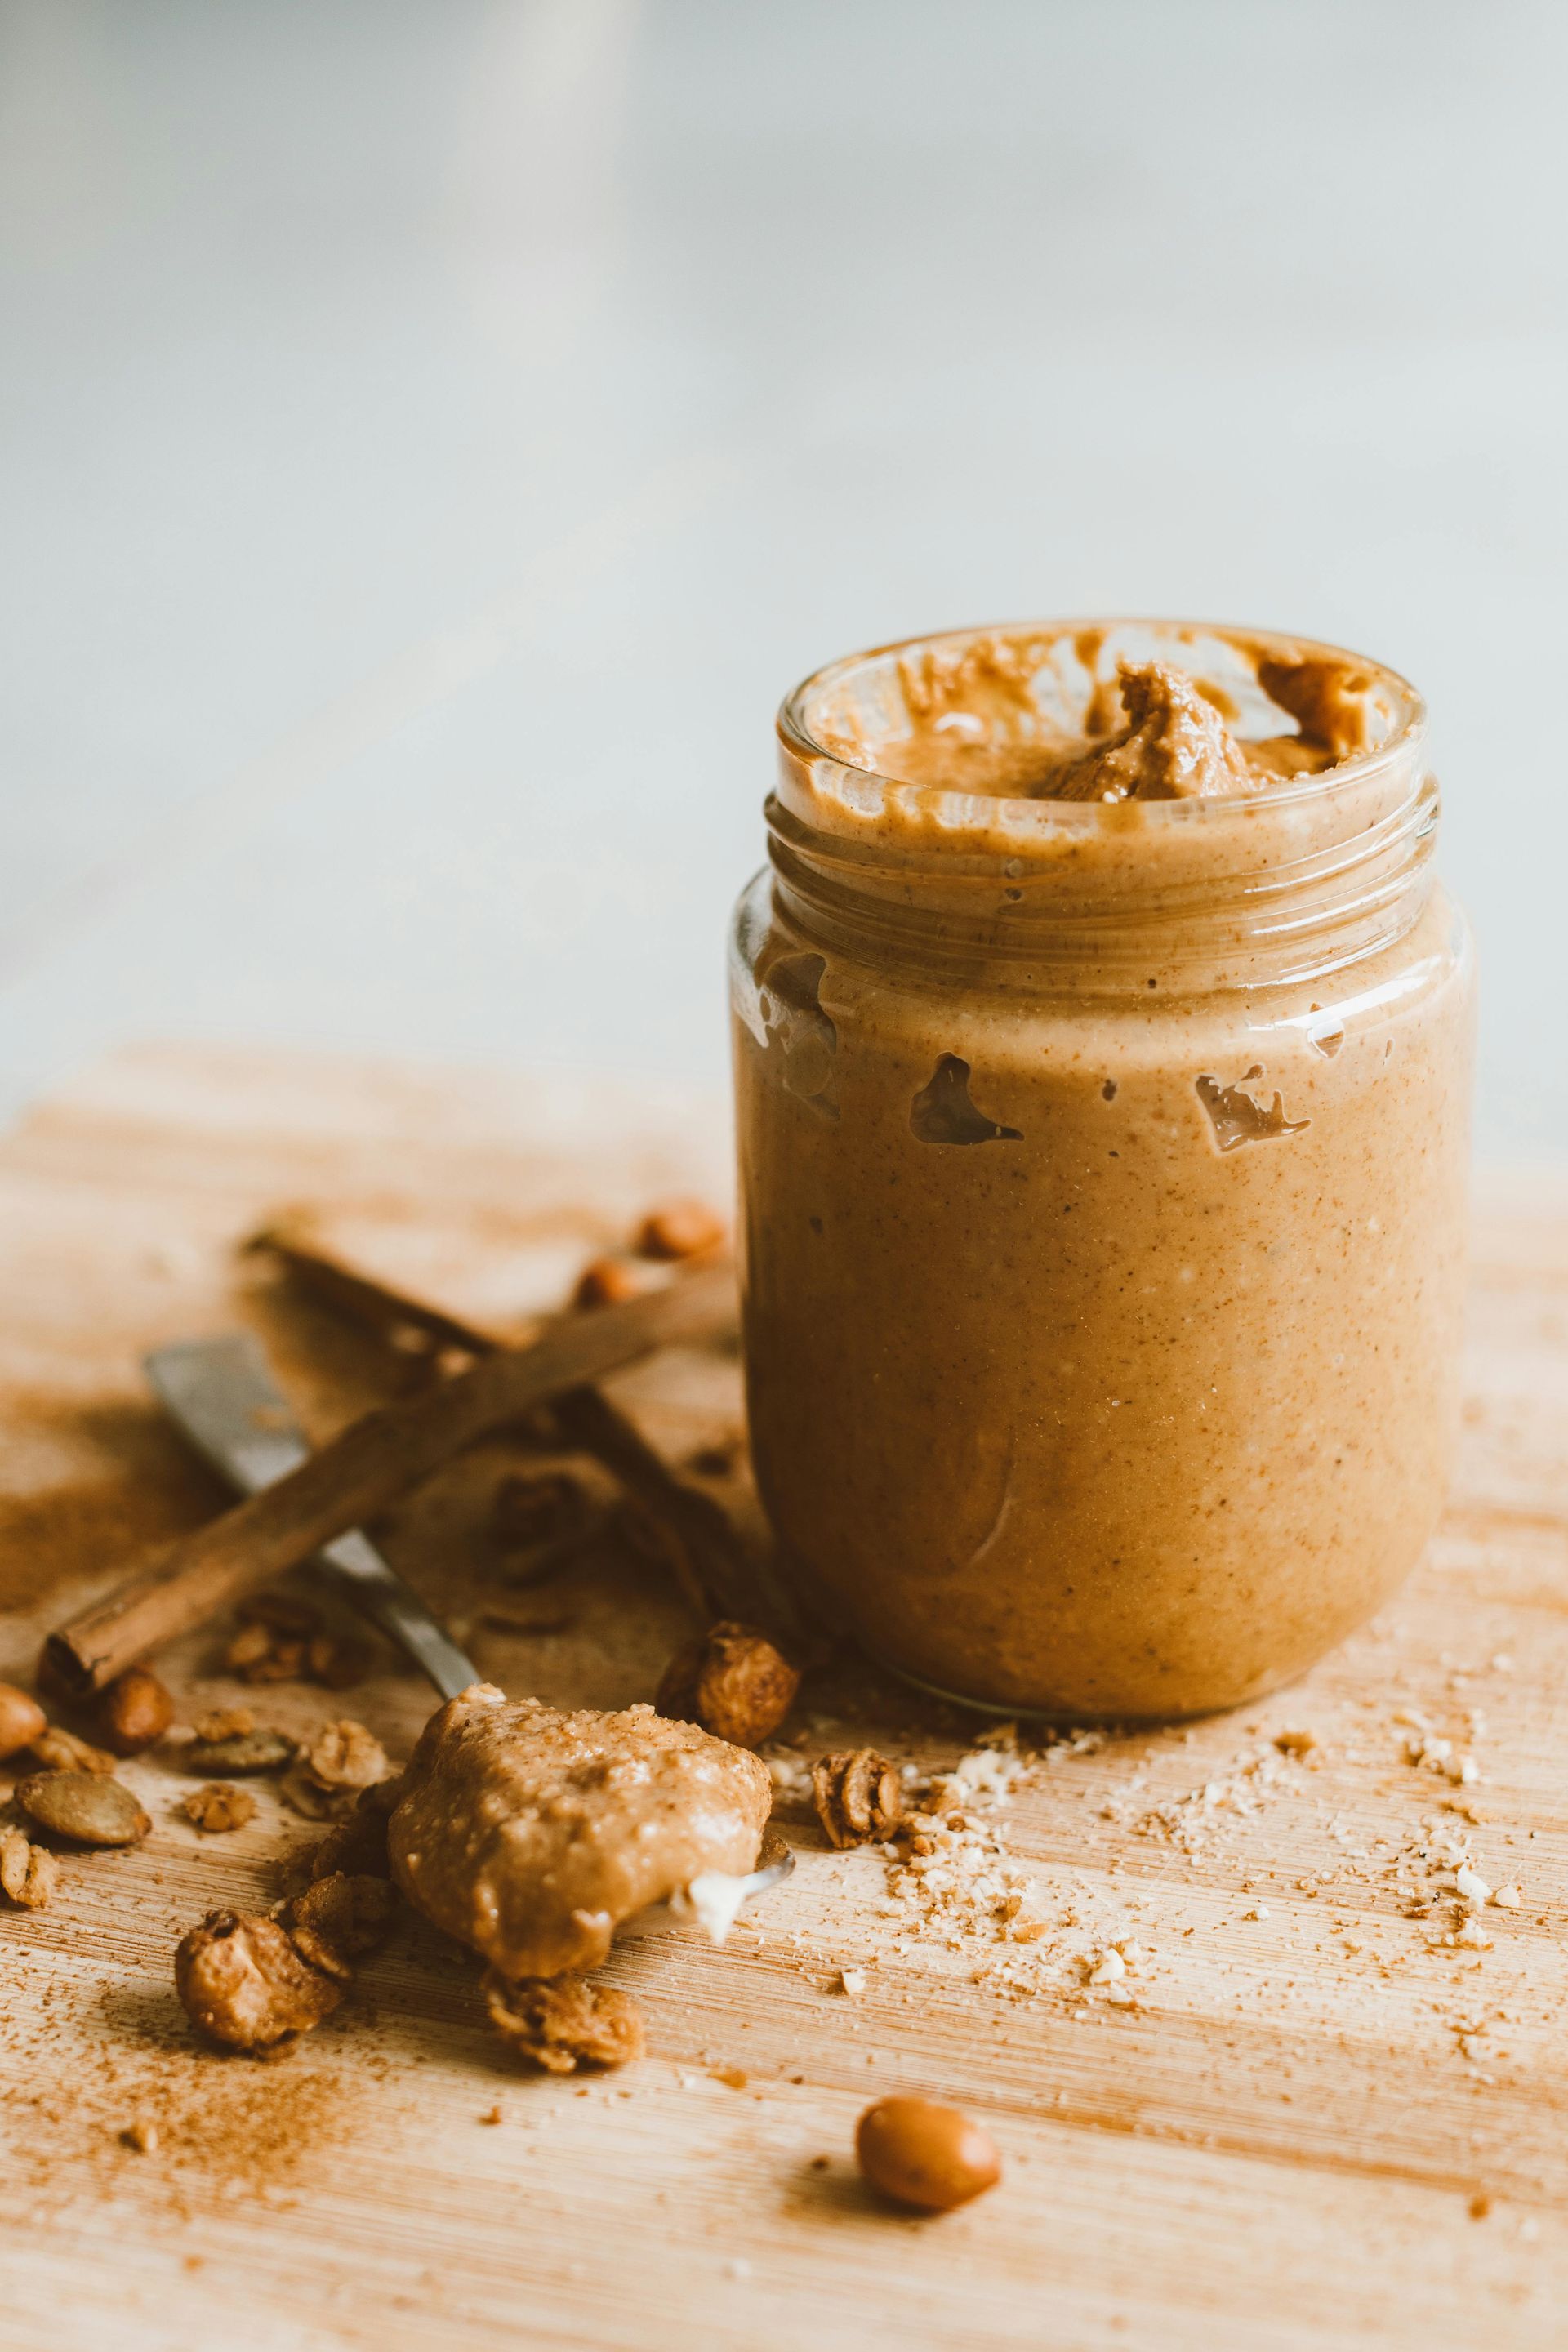
As the peanuts process, they’ll go through different stages. First, they’ll look chunky, then they’ll thicken into a ball. Keep going! Eventually, the ball will break down and become a smooth, creamy mixture. The entire process will take about 8 to 10 minutes, depending on the strength of your food processor.
4. Taste and adjust:
Once your peanut butter is smooth, taste it and adjust the salt if necessary. If you like a little sweetness, you can add a tiny drizzle of honey or maple syrup at this point, though that’s totally optional.
5. Store:
Transfer the peanut butter to an airtight container and store it in the refrigerator. It will stay fresh for about 2 weeks, though in my house, it never lasts that long!
Tips for the Best Homemade Peanut Butter
1. Use Quality Peanuts:
The flavor of your peanut butter depends on the quality of your peanuts. Choose dry roasted peanuts for a deeper, nutty flavor. If you prefer unsalted, you can control the salt level yourself.
2. Blender vs. Food Processor:
While a food processor is the ideal tool for making peanut butter, you can use a high-powered blender if needed. Just be sure to stop and scrape down the sides frequently to keep things moving.
3. Be Patient:
The process takes about 8 to 10 minutes, and you’ll notice several texture changes as the peanuts break down. Don’t stop too early! If you want smooth peanut butter, keep processing until you reach the perfect consistency.
4. Add-Ins for Fun:
Want to switch things up? You can add a little honey or maple syrup for sweetness, or a dash of cinnamon for a warm, spicy flavor. You can also fold in some chopped peanuts at the end if you prefer chunky peanut butter.
5. Storage:
Homemade peanut butter doesn’t contain preservatives, so it’s best to keep it refrigerated. It’ll last about 2 weeks in the fridge. If it separates (natural oils tend to do that), just give it a good stir before using.
Why You’ll Love Homemade Peanut Butter
Once you try making your own peanut butter, you’ll wonder why you ever bought it at the store. It’s so simple, and the flavor is unbeatable. Plus, knowing you’re using just a few ingredients—none of which are preservatives or unnecessary oils—makes it that much more satisfying.
Whether you’re spreading it on toast, baking with it, or using it as a snack, homemade peanut butter will elevate all your peanut butter treats to a whole new level. And, of course, making it yourself saves you money and gives you control over exactly what goes into it.
So, the next time you run out of peanut butter, don’t head to the store—just grab some peanuts and your food processor, and you’ll have fresh, delicious peanut butter in no time!
More Dawn's Simple Life inspirations
