
This is a subtitle for your new post

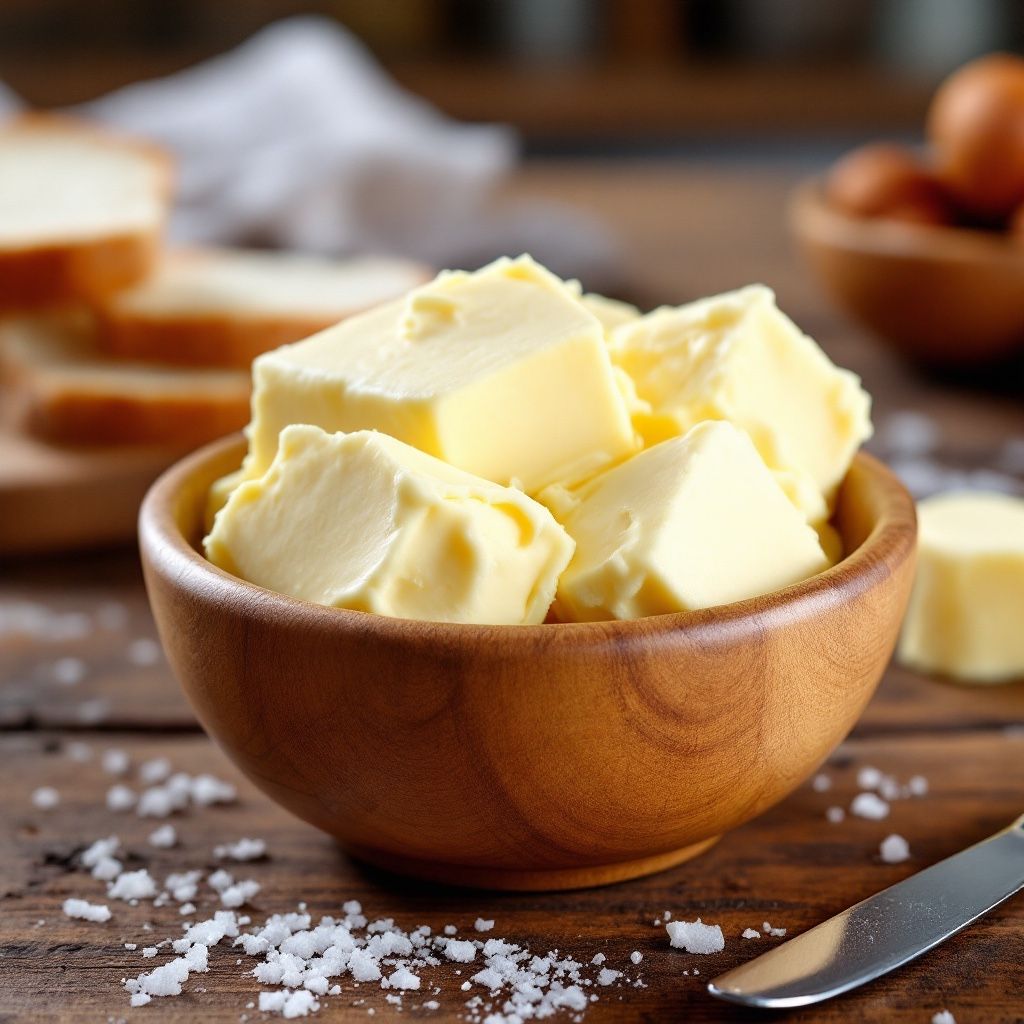
In today’s world of convenience, making butter might seem like an old-fashioned task, but it’s surprisingly simple and incredibly rewarding! Not only does it taste better than store-bought, but it also connects us to the past—back when our great-grandparents made everything from scratch. Plus, homemade butter is free from unnecessary additives, and if you have access to high-quality cream, it's a budget-friendly way to enjoy fresh, wholesome goodness.
Best of all, you don’t need a churn or hours of labor—just 35% cream (whipping cream), a mixer or food processor, salt, and water.
My First Attempt at Homemade Butter (a.k.a. The Great Butter Explosion)
I still remember the first time I decided to make butter. I had read how ‘simple’ it was—just cream, a mixer, and a little patience. Easy, right? So, I grabbed my stand mixer, poured in the cream, and cranked it up to full speed.
Big mistake.
At first, everything was going smoothly—fluffy whipped cream appeared, and I was feeling pretty proud of myself. But then, all of a sudden, liquid started forming, and before I could react, splat! Buttermilk was flying everywhere. The counters, the cupboards, the floor… even me. I looked like I had lost a battle with a dairy farm.
My kids walked in at that moment, took one look at me covered in butter speckles, and immediately burst out laughing. But the real winners of this situation? My dogs. They rushed in like little four-legged cleanup crews, enthusiastically licking up every drop of spilled buttermilk before I could even grab a towel. Honestly, they’ve never been so excited about one of my kitchen experiments before.
Lesson learned: when it starts separating, turn the speed down.
Despite the mess (and the very happy dogs), I pressed on, straining out the golden butter chunks and kneading them in cold water. And you know what? When I spread that fresh butter onto a warm slice of homemade bread, it was absolute heaven. Now, making butter is second nature, and while I still manage to make a mess now and then, it’s become a fun (and slightly chaotic) tradition in our house.
Why Make Your Own Butter?
- Better Taste – Fresh, creamy, and customizable to your liking.
- Fewer Ingredients – No preservatives, stabilizers, or artificial flavors.
- Budget-Friendly – Sometimes cheaper than store-bought, especially if you buy cream in bulk or get it from a local farm.
- Nutrient-Dense – Rich in fat-soluble vitamins like A, D, E, and K.
- Sustainability – Reduce packaging waste by skipping plastic tubs and wrappers.
How to Make Butter
Step 1: Start with Cream
Pour your 35% cream into a stand mixer, food processor, or even a mason jar (if you’re feeling adventurous and want an arm workout!).
Step 2: Whip it Up
Turn your machine on high and let it go. At first, you’ll see the cream turn into whipped cream—but don’t stop there! Keep mixing, and after a few minutes, you’ll notice it getting grainy. If you're using a mixer, once you see liquid forming, you may want to turn it down to prevent a splattering mess.
Step 3: Separation Begins
After about 10-20 minutes, the magic happens—the butterfat starts clumping together, separating from the buttermilk. You’ll see yellow butter solids floating in a milky liquid.
Step 4: Strain and Save the Buttermilk
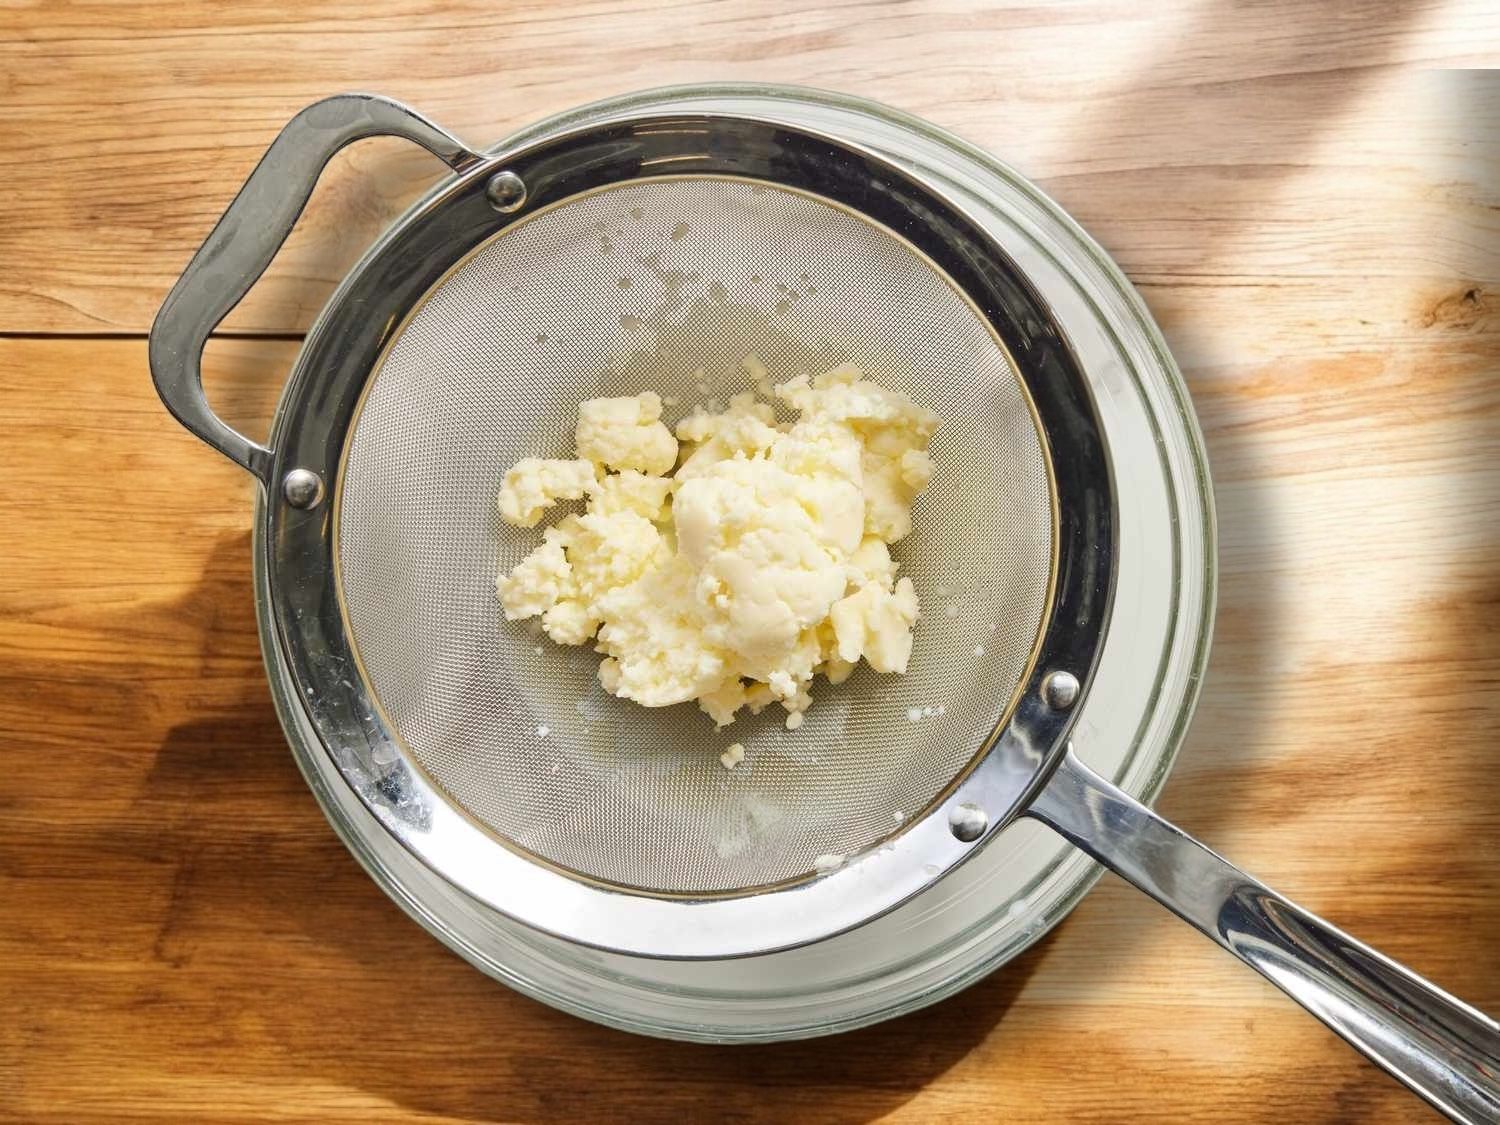
Strain the butter using a fine sieve or cheesecloth, pressing out as much liquid as possible. Don’t throw away the buttermilk! It’s a fantastic ingredient for pancakes, biscuits, and marinades.
Step 5: Wash the Butter
This step is crucial for prolonging the butter’s shelf life. Place the butter in a bowl of cold water and knead it gently with a spatula or your hands. The water will turn cloudy as the remaining buttermilk is released. Dump the water, replace it with fresh cold water, and repeat until the water runs clear.
Step 6: Add Salt (Optional but Recommended!)
If you like salted butter, now’s the time to mix in a pinch or two of salt. This not only enhances the flavour but also helps preserve the butter. You can also experiment with flavoured butters (ideas below!).
Step 7: Store It Properly
- Fridge – Wrap in parchment paper or store in an airtight container for up to 2 weeks.
- Freezer – Store in a sealed container for up to 6 months.
- Butter Bell (Butter Crock) – Keeps butter fresh at room temperature for easy spreading.
Fun Variations & Flavored Butter Ideas
Why stop at plain butter? Try these delicious variations!
- Garlic & Herb Butter – Mix in minced garlic, parsley, chives, or thyme.
- Honey Butter – Blend in a drizzle of honey for a sweet, creamy spread.
- Cinnamon Sugar Butter – Add cinnamon and a touch of brown sugar—perfect for toast and pancakes.
- Lemon & Dill Butter – A fresh, tangy option for seafood and vegetables.
- Smoky Paprika Butter – Great for steaks and grilled corn on the cob.
Making Butter the Old-Fashioned Way (For Fun!)
Want to entertain kids or just enjoy a hands-on experience? Try making butter in a mason jar!
Pour cold 35% cream into a jar, filling it only halfway.
- Seal tightly and shake like crazy (seriously, this takes effort!).
- After about 5-10 minutes, you’ll see whipped cream forming. Keep going!
- Eventually, you’ll feel a solid mass forming inside. That’s your butter!
- Strain, wash, and enjoy just like with the mixer method.
Bonus Tip: Whipped Butter for Extra Fluffiness & Stretching Your Butter Further
If you want to make your butter go a little further (and have a light, spreadable texture), try making whipped butter! Once your homemade butter is fully washed and free of excess buttermilk, simply place it back in the mixer or food processor and whip it with a little bit of liquid.
How to Make Whipped Butter:
- Place your finished butter in a mixing bowl.
- Add a small amount of water, milk, or buttermilk (about 1-2 tablespoons per cup of butter) to help loosen it up.
- Whip on medium speed until light and fluffy.
- Store in an airtight container in the fridge.
This creates a softer, airy texture that’s perfect for spreading on toast, muffins, or pancakes. Plus, it helps stretch your butter supply a little further—because let’s be real, good butter never lasts long in a busy household!
Final Thoughts
Making homemade butter is a fun, easy, and satisfying process that brings a little bit of old-fashioned tradition into your modern kitchen. Whether you’re doing it to save money, avoid preservatives, or just enjoy the freshest butter possible, it’s well worth the effort. Give it a try and let me know—what’s your favorite way to enjoy fresh butter?
🌿 Plant seeds of kindness, water them with love, and watch your life grow beautifully simple.
More Dawn's Simple Life inspirations
