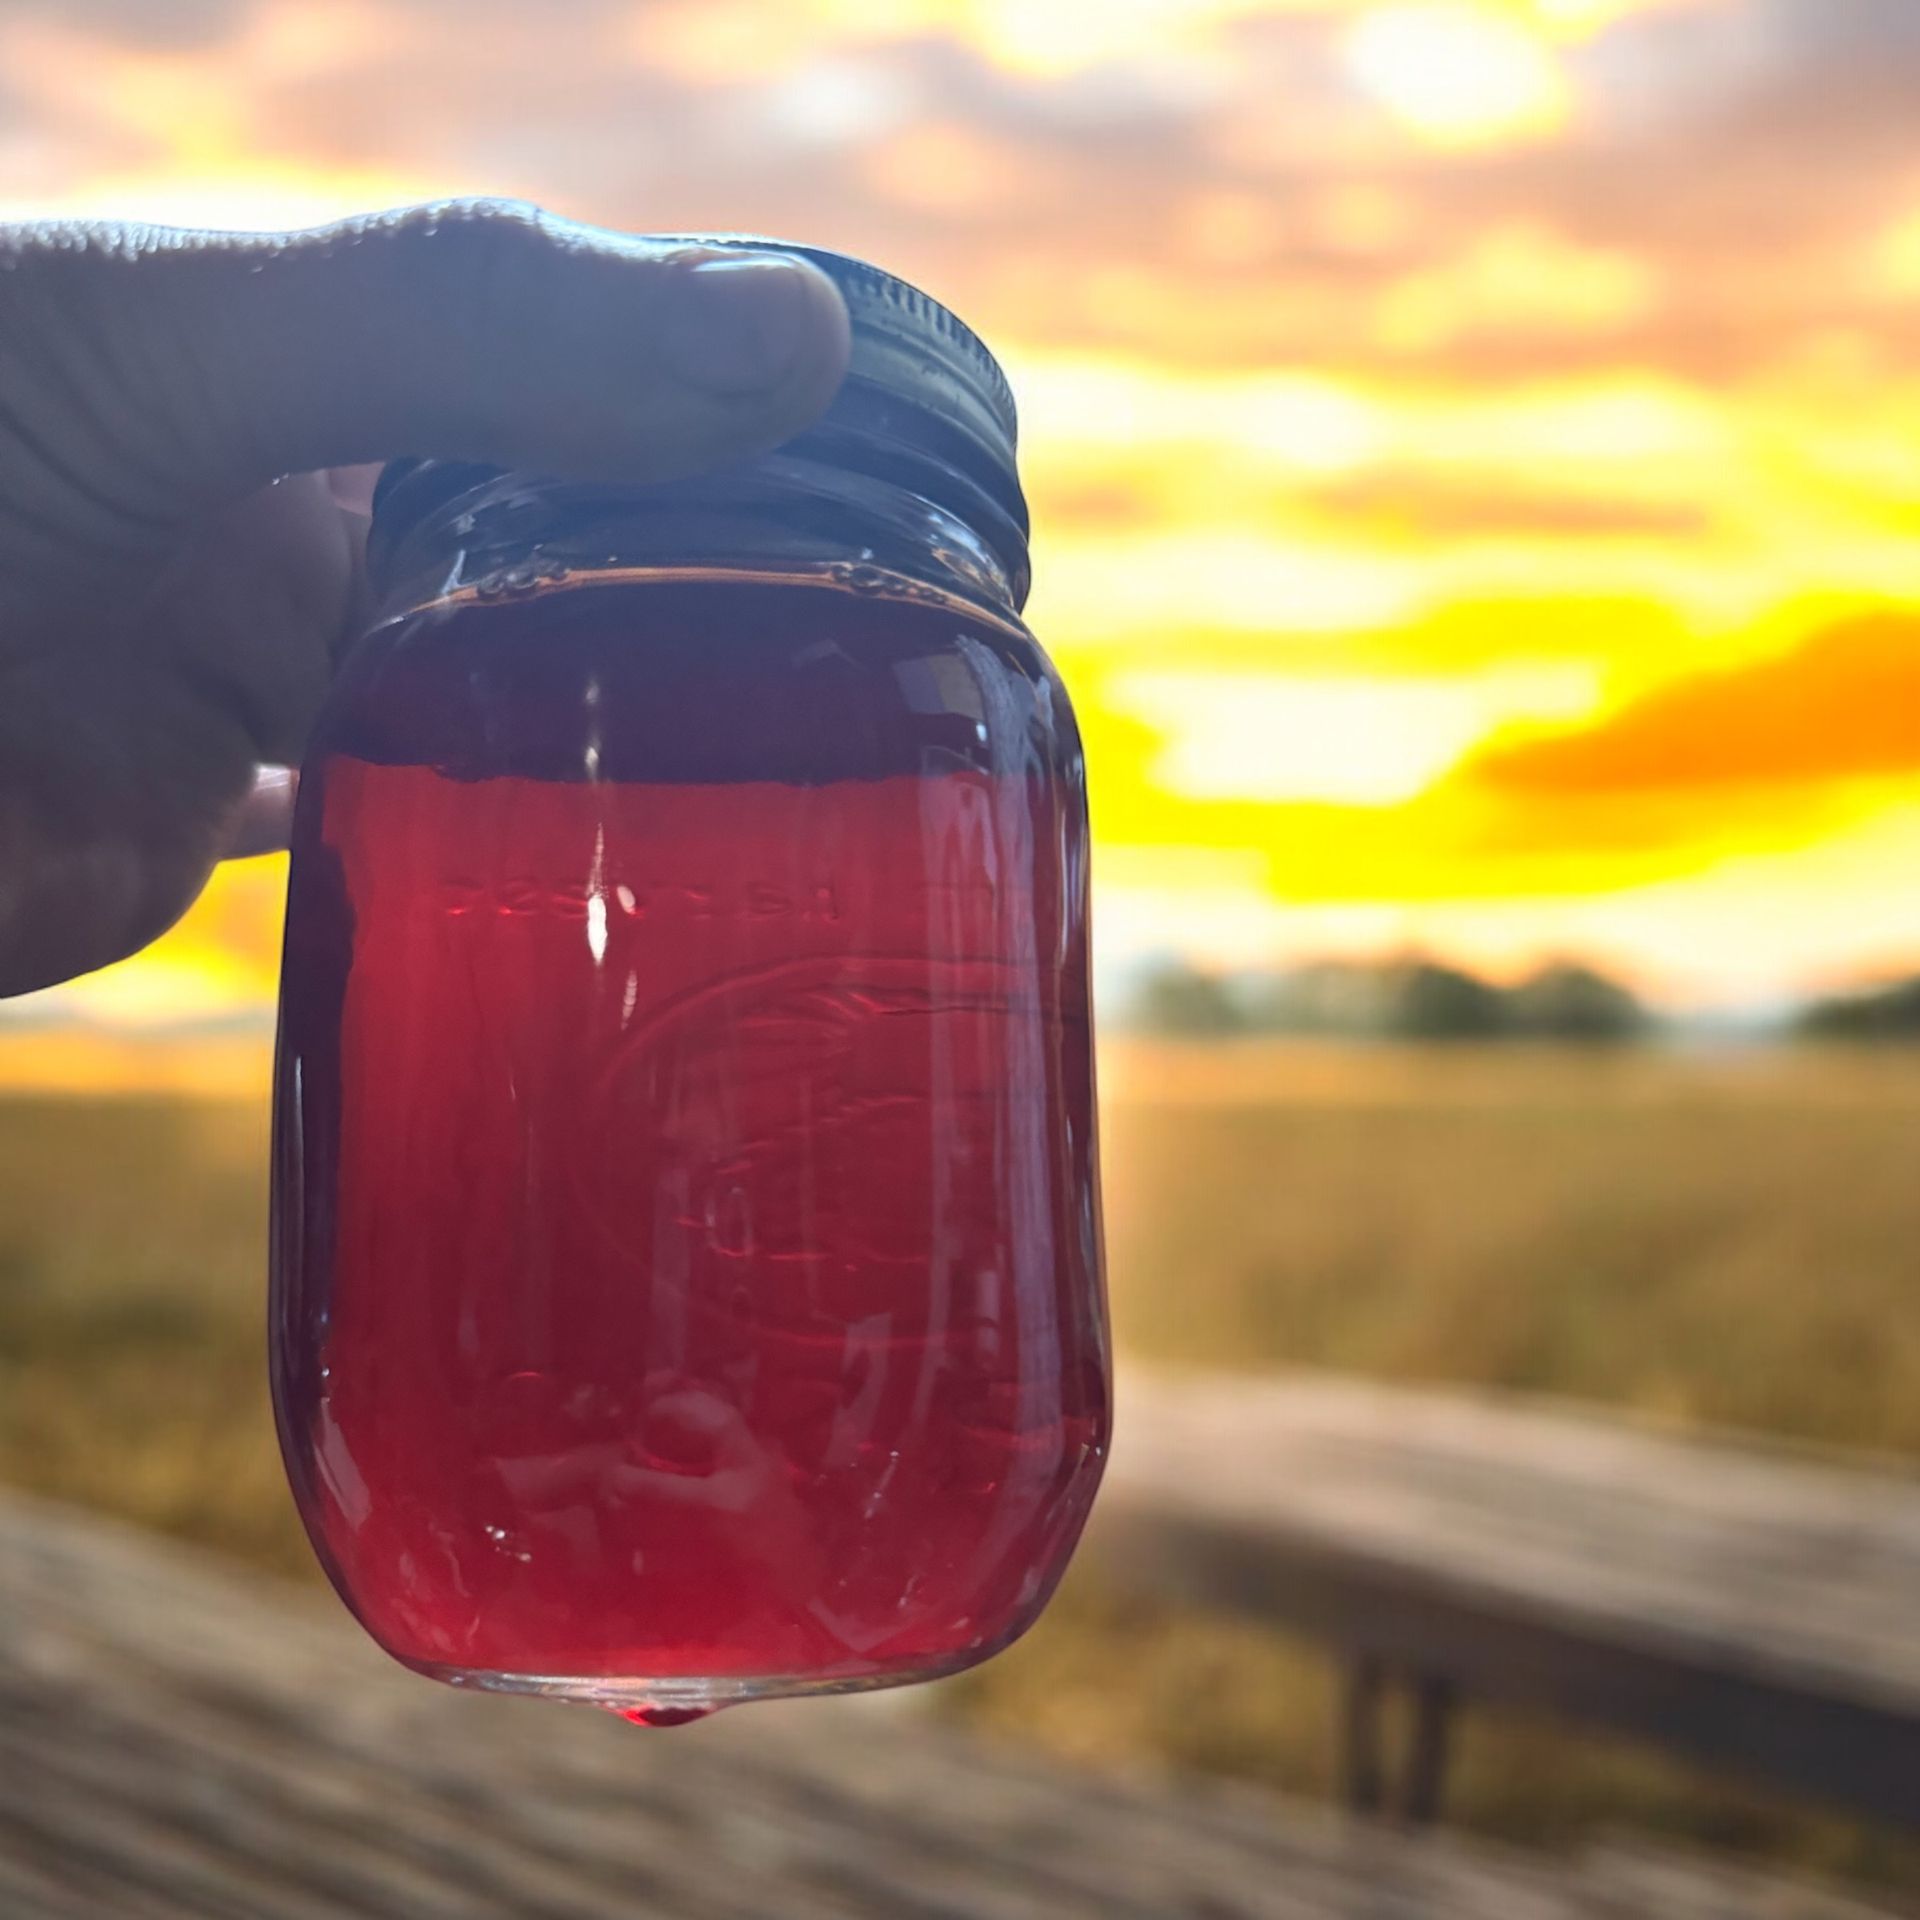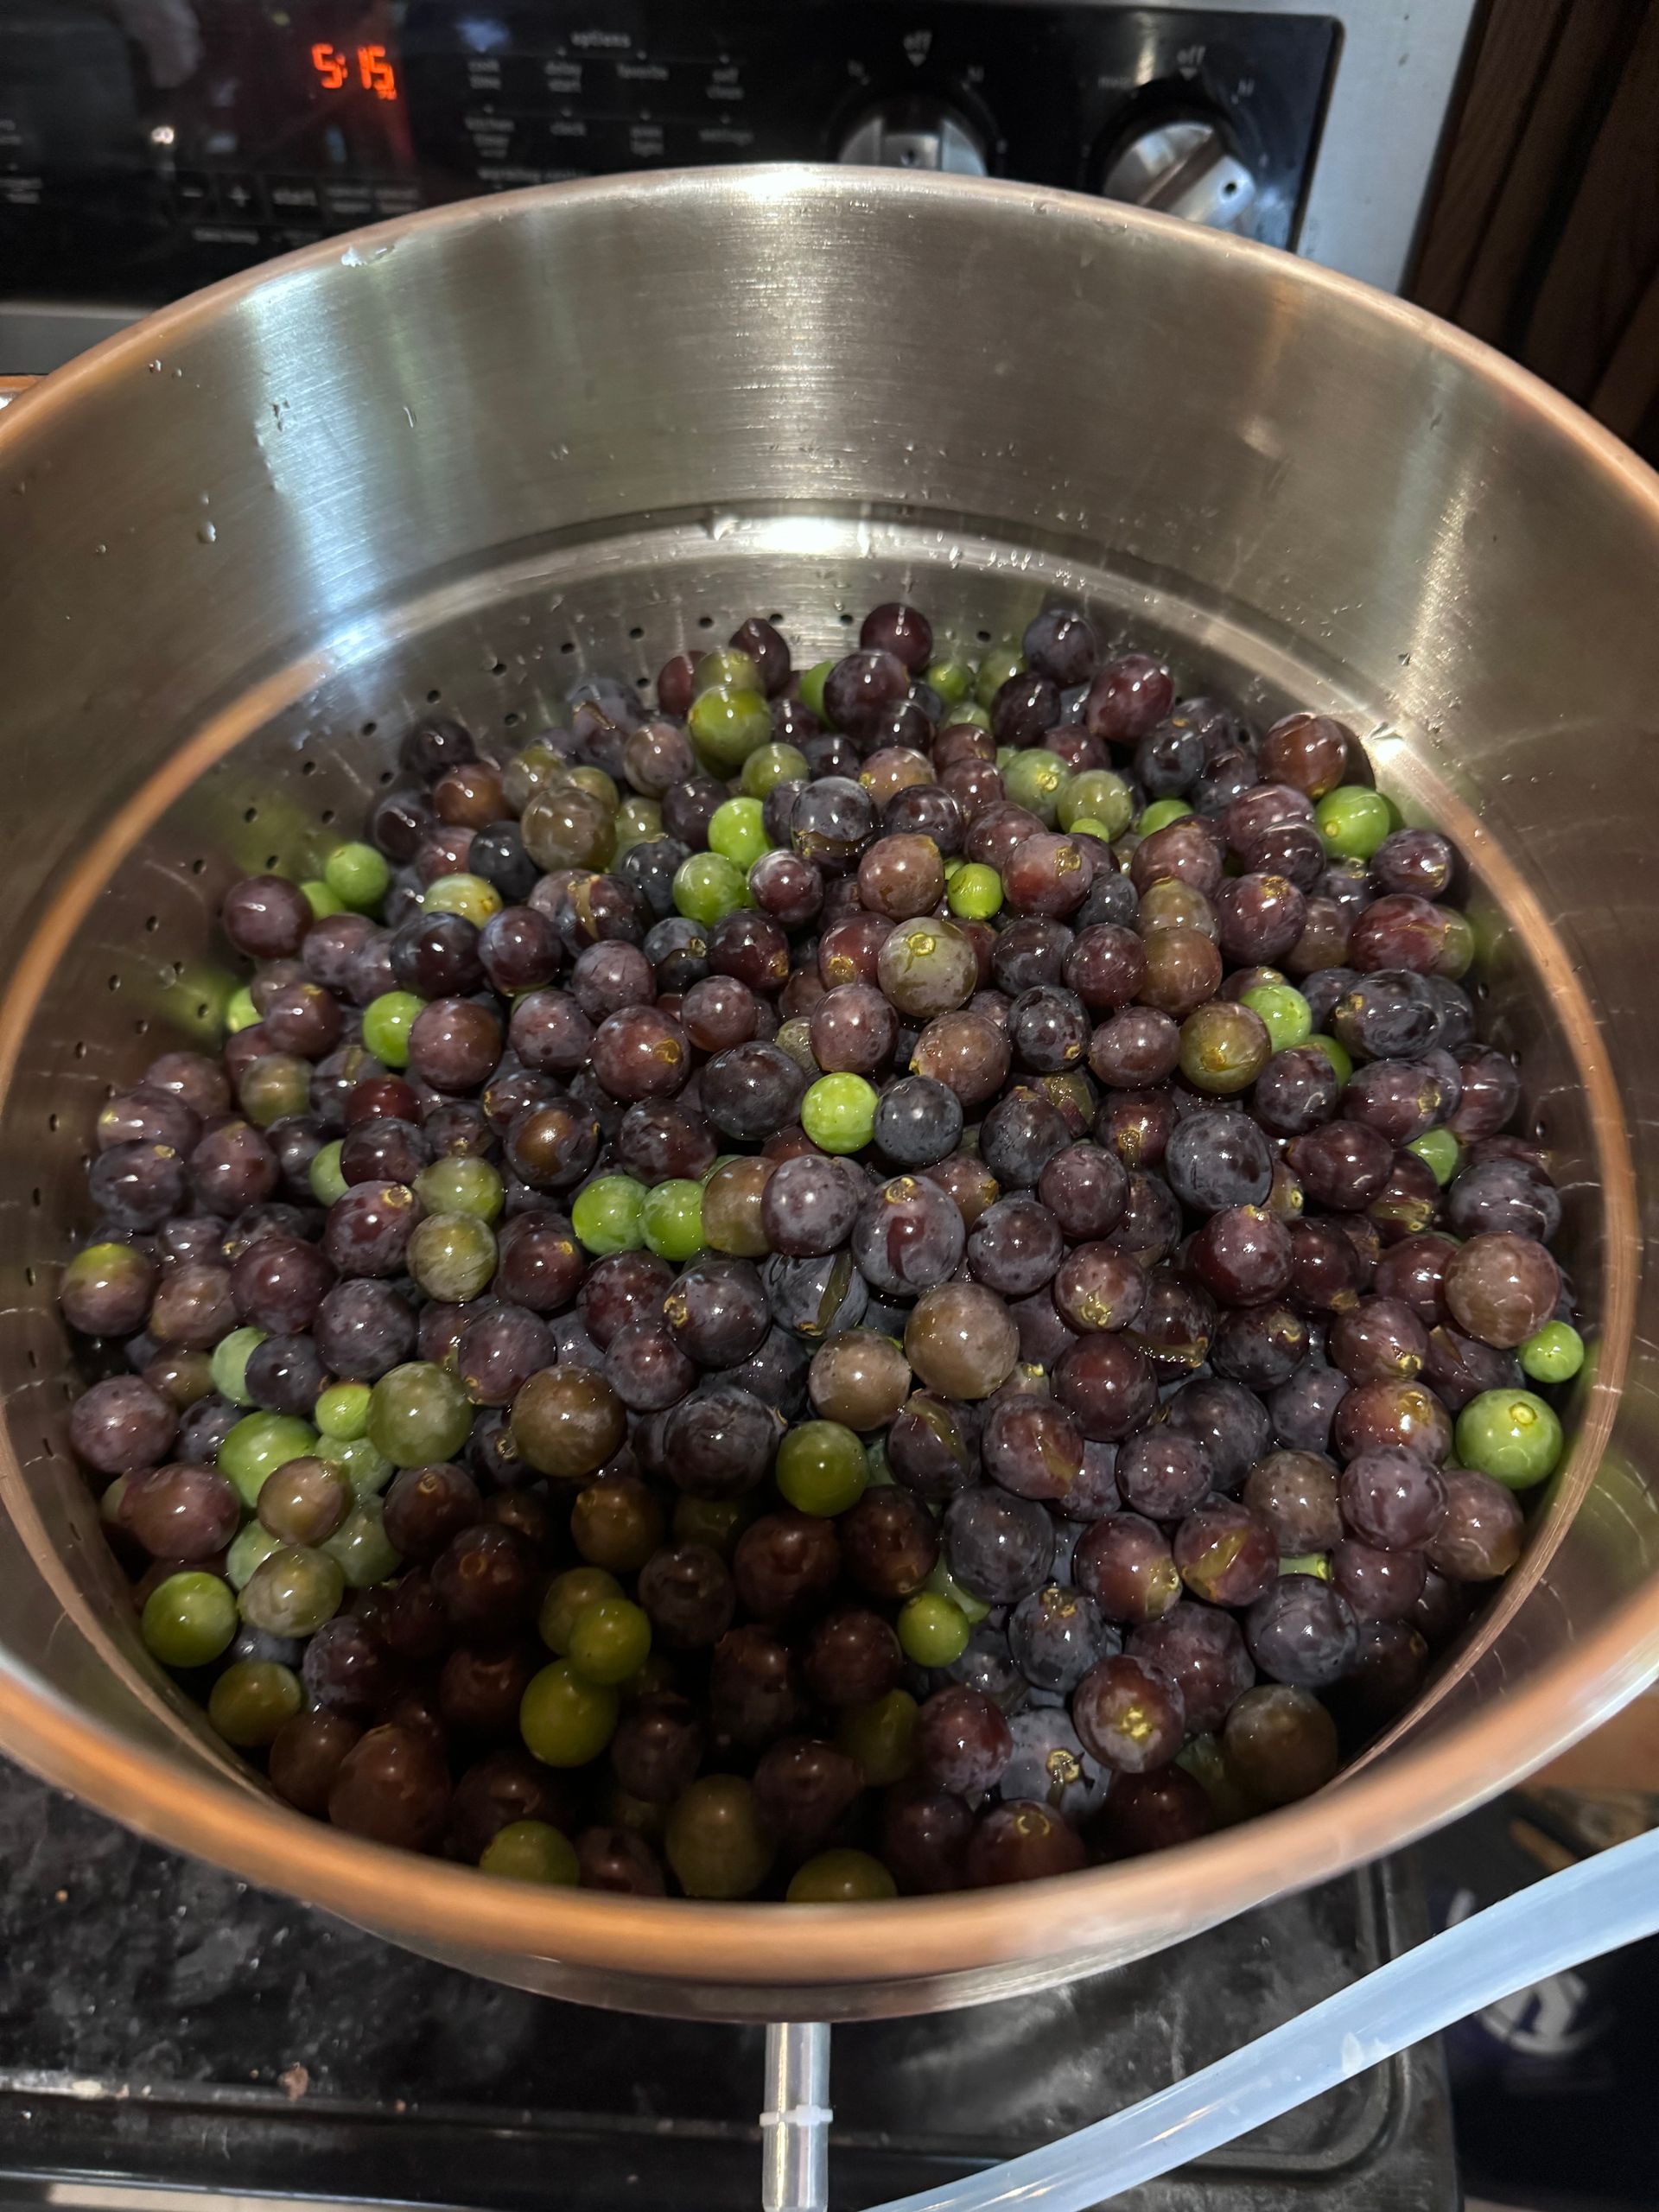

There are two easy ways to can grape juice: the traditional water bath method or by using a steam juicer. Let’s dive into both!

There’s something so rewarding about turning fresh grapes into your very own homemade grape juice, especially when it’s free from artificial flavors, colors, or added sugars. All you need are two simple ingredients and a bit of time to create this pure, delicious goodness.
We have a grapevine that’s almost out of control in our backyard, and both our family and the chickens love it when it’s time to harvest. While we’re not big fans of grape jelly, we can’t get enough of the juice—especially from Concord grapes. This variety grows vigorously and is ready for picking from late September to early October.
There are two easy ways to can grape juice: the traditional water bath method or by using a steam juicer. Let’s dive into both!
Water Bath Canning Grape Juice: Step-by-Step
What You’ll Need:
- 8 quart jars with new lids and rings
- 16 cups of Concord grapes (about 2 cups per jar)
- 4 cups of granulated sugar (1/2 cup per jar)
- Large pot or water bath canner
Instructions:
1. Prep Your Jars:
Start by cleaning your jars and rings. Running them through the dishwasher the night before works well, but if you forget, simply wash them in hot soapy water. Pour boiling water over them to ensure they’re completely clean. Always use brand new canning lids for a proper seal.
2. Wash and Destem the Grapes:
Give your grapes a good wash in a colander and remove the stems.
3. Fill the Jars:
Place 2 cups of clean grapes into each sterilized quart jar.
4. Add Sugar:
Pour 1/2 cup of sugar over the grapes in each jar.
5. Add Boiling Water:
Carefully pour boiling water over the grapes and sugar, filling the jars to about 1 inch from the top.
6. Seal the Jars:
Wipe down the rims with a damp paper towel to remove any debris. Place a new lid on each jar and tighten the rings until they’re just fingertip-tight.
7. Process in Water Bath:
Place the jars in a water bath, ensuring they’re covered by at least 1 inch of water. Bring to a simmer and process for 10 minutes.
8. Cool and Store:
Once the time is up, carefully remove the jars and let them cool for 24 hours. Store them in a cool, dark place for 3-4 weeks to let the flavors develop. Don’t forget to label them!
After a few weeks, crack open a jar and enjoy the fresh taste of homemade grape juice with your family. Once opened, store the juice in the fridge for up to a week.
Steam Juicer Method for Grape Juice
If you prefer an even easier way to make grape juice, a steam juicer is your best friend! This method is great if you’re working with large amounts of grapes.
What You’ll Need:
- 9 lbs of concord grapes
- Sugar (optional, to taste)
Instructions:
1. Set Up Your Juicer:
Fill the base of the steam juicer with water, almost to the rim, and place it on the stove. Add the next two layers of the juicer.
2. Prepare the Grapes:
Wash the grapes thoroughly, removing any damaged or unripe ones. You can leave the stems on unless you want to use the pulp for jam or fruit leather.
3. Steam the Grapes:
Place the grapes in the top layer of the juicer, put the lid on, and heat on medium. Let it steam for about an hour.
4. Heat Your Jars:
While the grapes steam, heat your canning jars. You can run them through the dishwasher or warm them in the water bath canner.
5. Collect the Juice:
Set a table in front of the juicer and place your hot jars on it. Release the juice from the juicer into the jars. If your grapes are too tart, you can add 2 tablespoons of sugar per jar.
6. Seal the Jars:
Leave ¼ inch of headspace, wipe the rims, and secure the lids and rings.
7. Process in a Water Bath:
Place the jars in a water bath canner, making sure they’re covered by at least an inch of water. Process for 15 minutes.
8. Cool and Store:
After processing, turn off the heat and let the jars cool in the water for 5 minutes before removing. Let the jars sit for at least 12 hours before storing them in a cool, dark place.
Yield:
For 9 lbs of grapes, you’ll get about 3 quarts of juice. If you have a larger harvest and want to do full canner loads, I recommend using two steam juicers to process six quarts at a time.
Why Make Your Own Grape Juice?
Homemade grape juice not only tastes better, but it’s also a healthier, more satisfying way to use up your grape harvest. Whether you use the water bath or steam juicer method, you’ll have jars of fresh, preservative-free juice to enjoy all year long.
Enjoy the rich, full flavors of homemade grape juice, knowing you’ve made something wholesome and natural for your family. Let me know in the comments how your grape juice turned out!
More Dawn's Simple Life inspirations
