
This is a subtitle for your new post


I absolutely love my cast iron pans! Over the years, I’ve built quite a collection in various sizes, including woks and even a cauldron-style pan. They’re incredibly versatile—from stovetop to oven, and even over a campfire. This past summer, I used my cauldron to cook a roast over the campfire, and let me tell you, it was absolutely delicious!
One of the best things about cast iron is its natural non-stick surface—no chemicals involved. When properly cared for, the seasoning (a layer of polymerized oil) keeps improving, making cooking even easier over time. Plus, cast iron is one of the safest cookware options available, offering a small but beneficial boost of iron to your diet. Just be mindful when cooking acidic foods, as they can draw more iron into your meals.
Restoring Cast Iron: A Labor of Love
Today, I tackled a restoration project for an old cast iron pan I found in a storage trailer we purchased. It was in rough shape, but I was determined to bring it back to life. Armed with rubber gloves, dish soap, a metal scrubbie, and some hot water, I scrubbed away the majority of the rust. Afterward, I dried it in the oven to ensure no moisture remained. Tomorrow, I’ll inspect it and begin the seasoning process.
While the restoration was underway, I also gave my recently used pans a little love—coating them in oil and placing them in the oven to maintain their seasoning. It’s all part of the care routine that keeps them in top shape.
Cleaning and Maintenance
Caring for cast iron depends on the situation. Here’s a guide to common scenarios:
1. Light Cleaning
If there’s little to no residue, simply wipe the pan with a damp cloth or paper towel. No soap or scrubbing required.
2. Tougher Cleaning
For stuck-on food or grease, try one of these methods:
- Salt Scrub: Sprinkle coarse salt into the pan and scrub it with a soft cloth or paper towel. The salt’s abrasion will lift residue without damaging the seasoning.
- Simmer Water: Boil a small amount of water in the pan for a few minutes, then scrape with a wooden or silicone spatula.
- Pan Scraper: Use a plastic pan scraper for stubborn spots.
3. Occasional Deep Cleaning
If you need to use dish soap, it’s okay! Choose mild soap and a non-abrasive sponge, and reapply a thin layer of oil afterward to maintain the seasoning.
Restoring and Seasoning
When a pan has rust or sticky buildup, it’s time to restore and reseason it. Here’s how:
1. Remove Rust
Scrub the rust with fine steel wool or soak the pan in a vinegar-and-water solution (1:1) for up to an hour. Rinse thoroughly and neutralize with baking soda.
2. Wash Thoroughly
Use warm water and a mild soap to clean the pan. If there’s residue, a paste of coarse salt and water works well.
3. Dry Completely
Dry the pan thoroughly with a lint-free cloth or paper towel, or place it on the stovetop over low heat.
4. Apply Oil
Coat the pan with a thin layer of high-smoke-point oil, such as canola or flaxseed oil, ensuring every surface is covered.
5. Season
Place the pan upside down in a preheated oven at 450–500°F for one hour. Line the lower rack with foil to catch any drips. Let the pan cool completely in the oven.
6. Fix Sticky Pans
If a pan feels sticky, bake it again at 450–500°F to let excess oil harden or drip off.
Cooking Tips
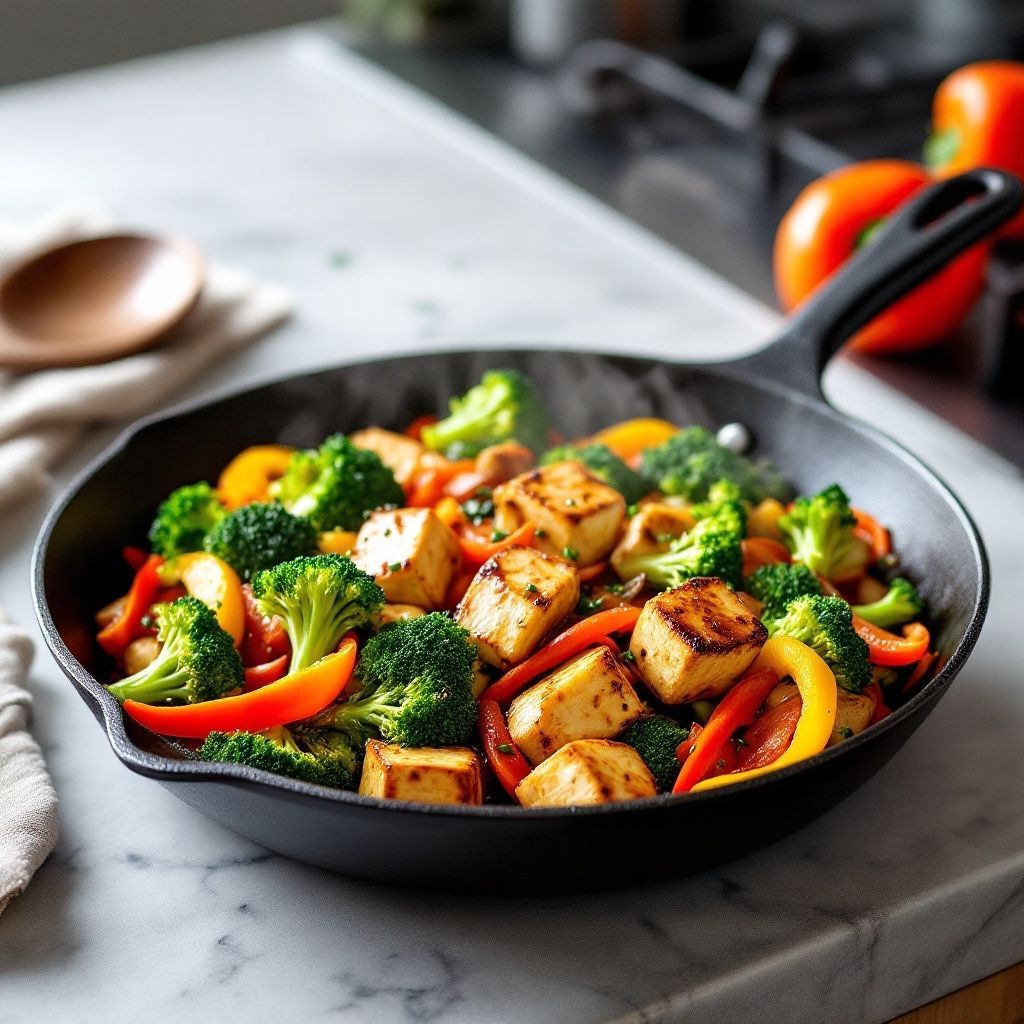
When cooking, always preheat your cast iron. A hot pan ensures food won’t stick, whether you’re searing steak, frying eggs, or flipping pancakes. My fiancé’s favorite meal in cast iron is one I recently made: sautéed vegetables, cream, chicken stock, chicken, spinach, broccoli, and cheese—all finished in the oven. It was a hit!
Storage Tips
Proper storage keeps your cast iron in great shape:
- Keep it Dry: Moisture is the enemy of cast iron. Always dry thoroughly before storing.
- Ventilation: Store pans in a well-ventilated area to prevent rust.
- Stacking: If you stack pans, place paper towels between them to prevent scratches and absorb any moisture.
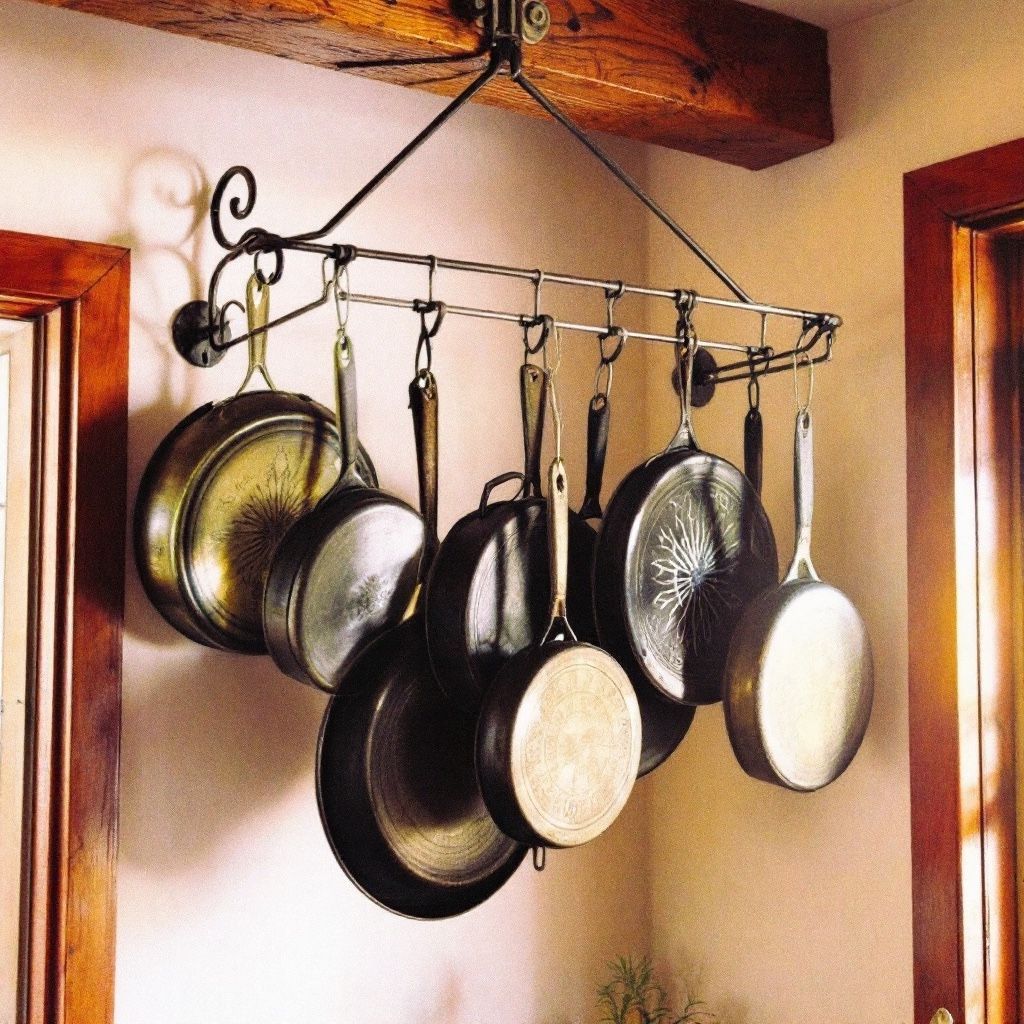
- Hanging: Mount hooks securely to studs for a decorative and functional storage solution.
- Oven Storage: If space is tight, store pans in the oven—just remember to remove them before preheating!
A Lifetime Investment
With proper care, your cast iron pans can last a lifetime, and maybe even generations. Season them after every use, clean them while they’re still warm, and store them properly. They’ll reward you with delicious meals and memories for years to come.
More Dawn's Simple Life inspirations
