A bunch of elderberries are surrounded by white flowers
September 2, 2024
Summer’s wrapping up, and while we might be doing a happy dance as the kids head back to school, we all know what’s lurking around the corner—the dreaded back-to-school cold. But don’t worry, I’ve got a little secret that’s been a game-changer for my family: elderberry syrup. Why I Swear by Elderberries * These tiny, dark berries are like nature’s multivitamins. They’re packed with antioxidants and vitamins that help boost your immune system, making them a perfect defense against colds and the flu. And if you’re already starting to feel that scratchy throat or stuffy nose, elderberry syrup can help lessen the symptoms. It’s like having a natural, sweet-tasting remedy that actually works. Where to Find Elderberries If you’re lucky enough to live in the countryside, you might just find elderberry bushes on a walk or drive. They love soaking up the sun, so check along roadsides or open fields. There’s something satisfying about picking your own berries, knowing you’re gathering the good stuff straight from nature. But if foraging isn’t in the cards (or you’re just not up for it), don’t worry! You can easily order organic elderberries online and have them delivered right to your door. It’s like having a little piece of nature shipped directly to you. Harvesting Elderberries: My Favorite Part Some varieties of elderberries can be toxic when eaten raw – the best way to avoid this is to make sure you always cook your elderberries well first When you find a bush full of those gorgeous, deep purple berries, it’s a bit like discovering a hidden treasure. I always bring along a pair of scissors and a bucket or bag to collect them. Snip the clusters, let them fall into your container, and you’re set. Back at home, give the berries a good rinse to wash away any dirt or bugs, and let them dry on a towel. Here’s a trick I love: freeze the berries overnight in a bag. The next day, give the bag a shake, and the berries will pop right off the stems. It’s oddly satisfying and a great way to relieve some stress!
Homemade Bread: Delicious, Affordable, and Oh-So-Satisfying
Dawn's Simple Life

From Flour to Loaf: Your Ultimate Guide to Perfect Homemade Bread
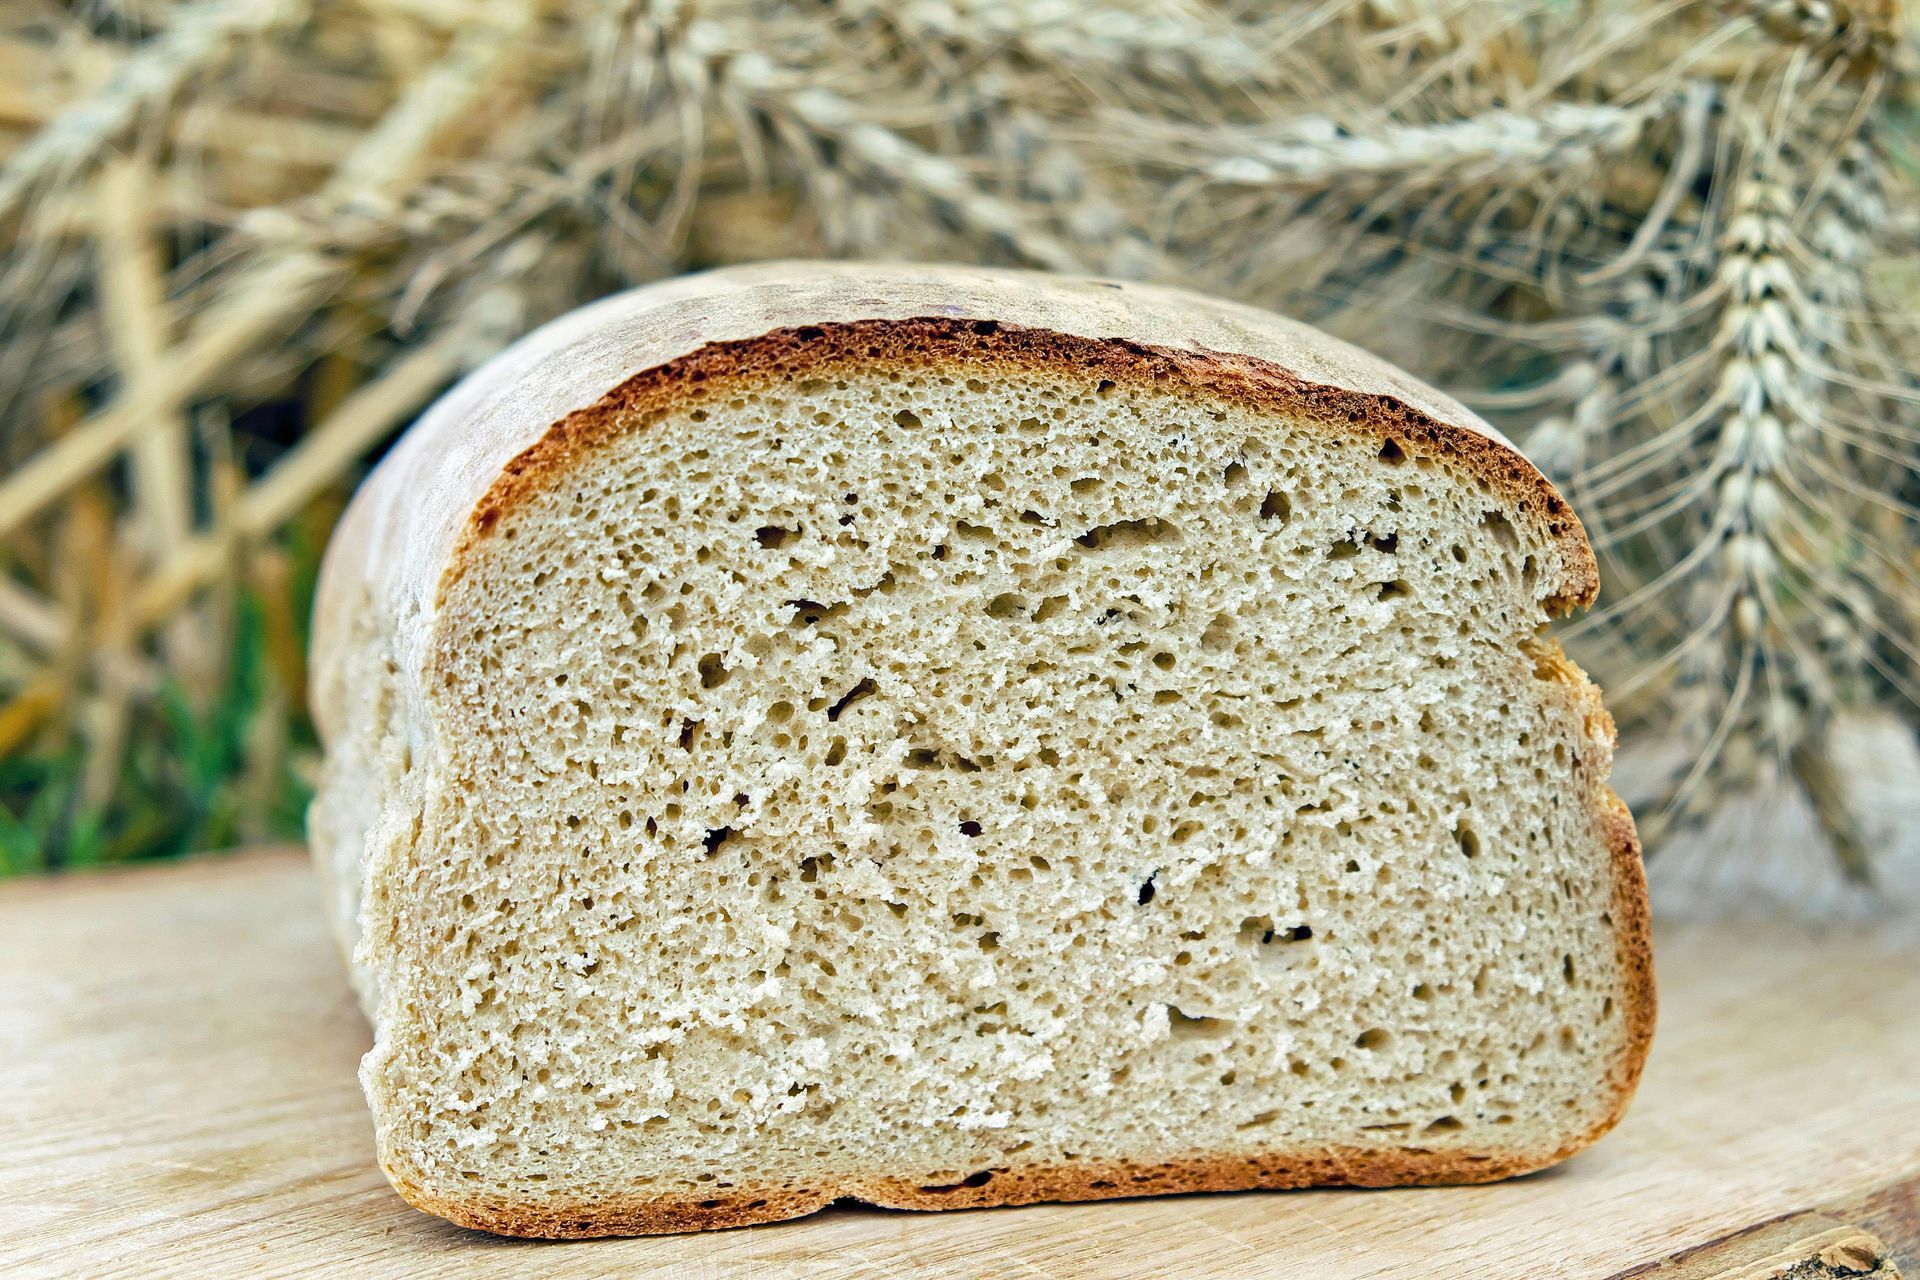
If you're looking to save some money and fill your home with the comforting aroma of freshly baked bread, then making your own is the way to go! Believe it or not, with locally sourced ingredients, I can whip up a loaf of homemade bread for just 97 cents. And the best part? The flavor possibilities are endless!


At our house, we’re big fans of garlic chive, brown sugar, and honey. But honestly, the sky’s the limit when it comes to experimenting with flavors. Whether you prefer savoury or sweet, homemade bread allows you to create something that’s perfectly tailored to your taste buds.


Mixing and Kneading: Tools for Every Pace


When I’m in a hurry, my mixer with a dough hook is a lifesaver—it gets the job done quickly and efficiently. But on those days when I have a bit more time to savour the process, I reach for my Danish dough whisk, a big bowl, and rely on good old-fashioned arm power. There’s something deeply satisfying about kneading dough by hand, feeling it transform from simple ingredients into a soft, pliable dough.


Pro Tips for Perfect Homemade Bread:

  1. Use Fresh Yeast:
    Fresh yeast is key to getting a beautiful rise in your bread. If your yeast is expired or has gone bad, your bread simply won’t rise as it should. We’ll be testing the yeast in the first step of the recipe to ensure it’s active and ready to go. For best results, store your yeast in the refrigerator to keep it fresh and potent.
  2. Speed Up the Rising Time:
    Need to cut down on the wait time? Here’s a handy trick! After preparing the dough and completing the first rise, place it in a well-greased bowl, turning the dough once to coat it all over. Cover the bowl with plastic wrap. Preheat your oven to 180ºF, then turn it off. Place the covered bowl into the oven, leaving the door slightly cracked open. The warm, draft-free environment will help the dough rise faster, doubling in size in no time. Once risen, remove the dough, punch it down, and shape it into loaves as usual.


 Storing Your Homemade Bread


Homemade bread is free from the preservatives found in store-bought loaves, so it doesn’t last quite as long. If your family is anything like mine and goes through bread quickly, storing it in an airtight container will keep it fresh for up to a week.


If you’ve made a larger batch or want to keep some on hand for later, I recommend slicing the loaves with a manual bread slicer and freezing the slices in a ziplock bag. The kids love grabbing a slice or two as needed—whether for a sandwich, garlic bread, or just a quick snack. They thaw quickly on the counter and taste just as fresh as the day they were baked.


The Recipe: Simple Steps for Perfect Homemade Bread


This recipe makes 4 loaves, so you’ll have plenty to enjoy now and some to store for later.


Ready to give it a try? Here’s a straightforward recipe that yields delicious, fluffy bread every time:


Equipment:

Mixer or danish dough whisk 

Loaf Pans 

Bowl


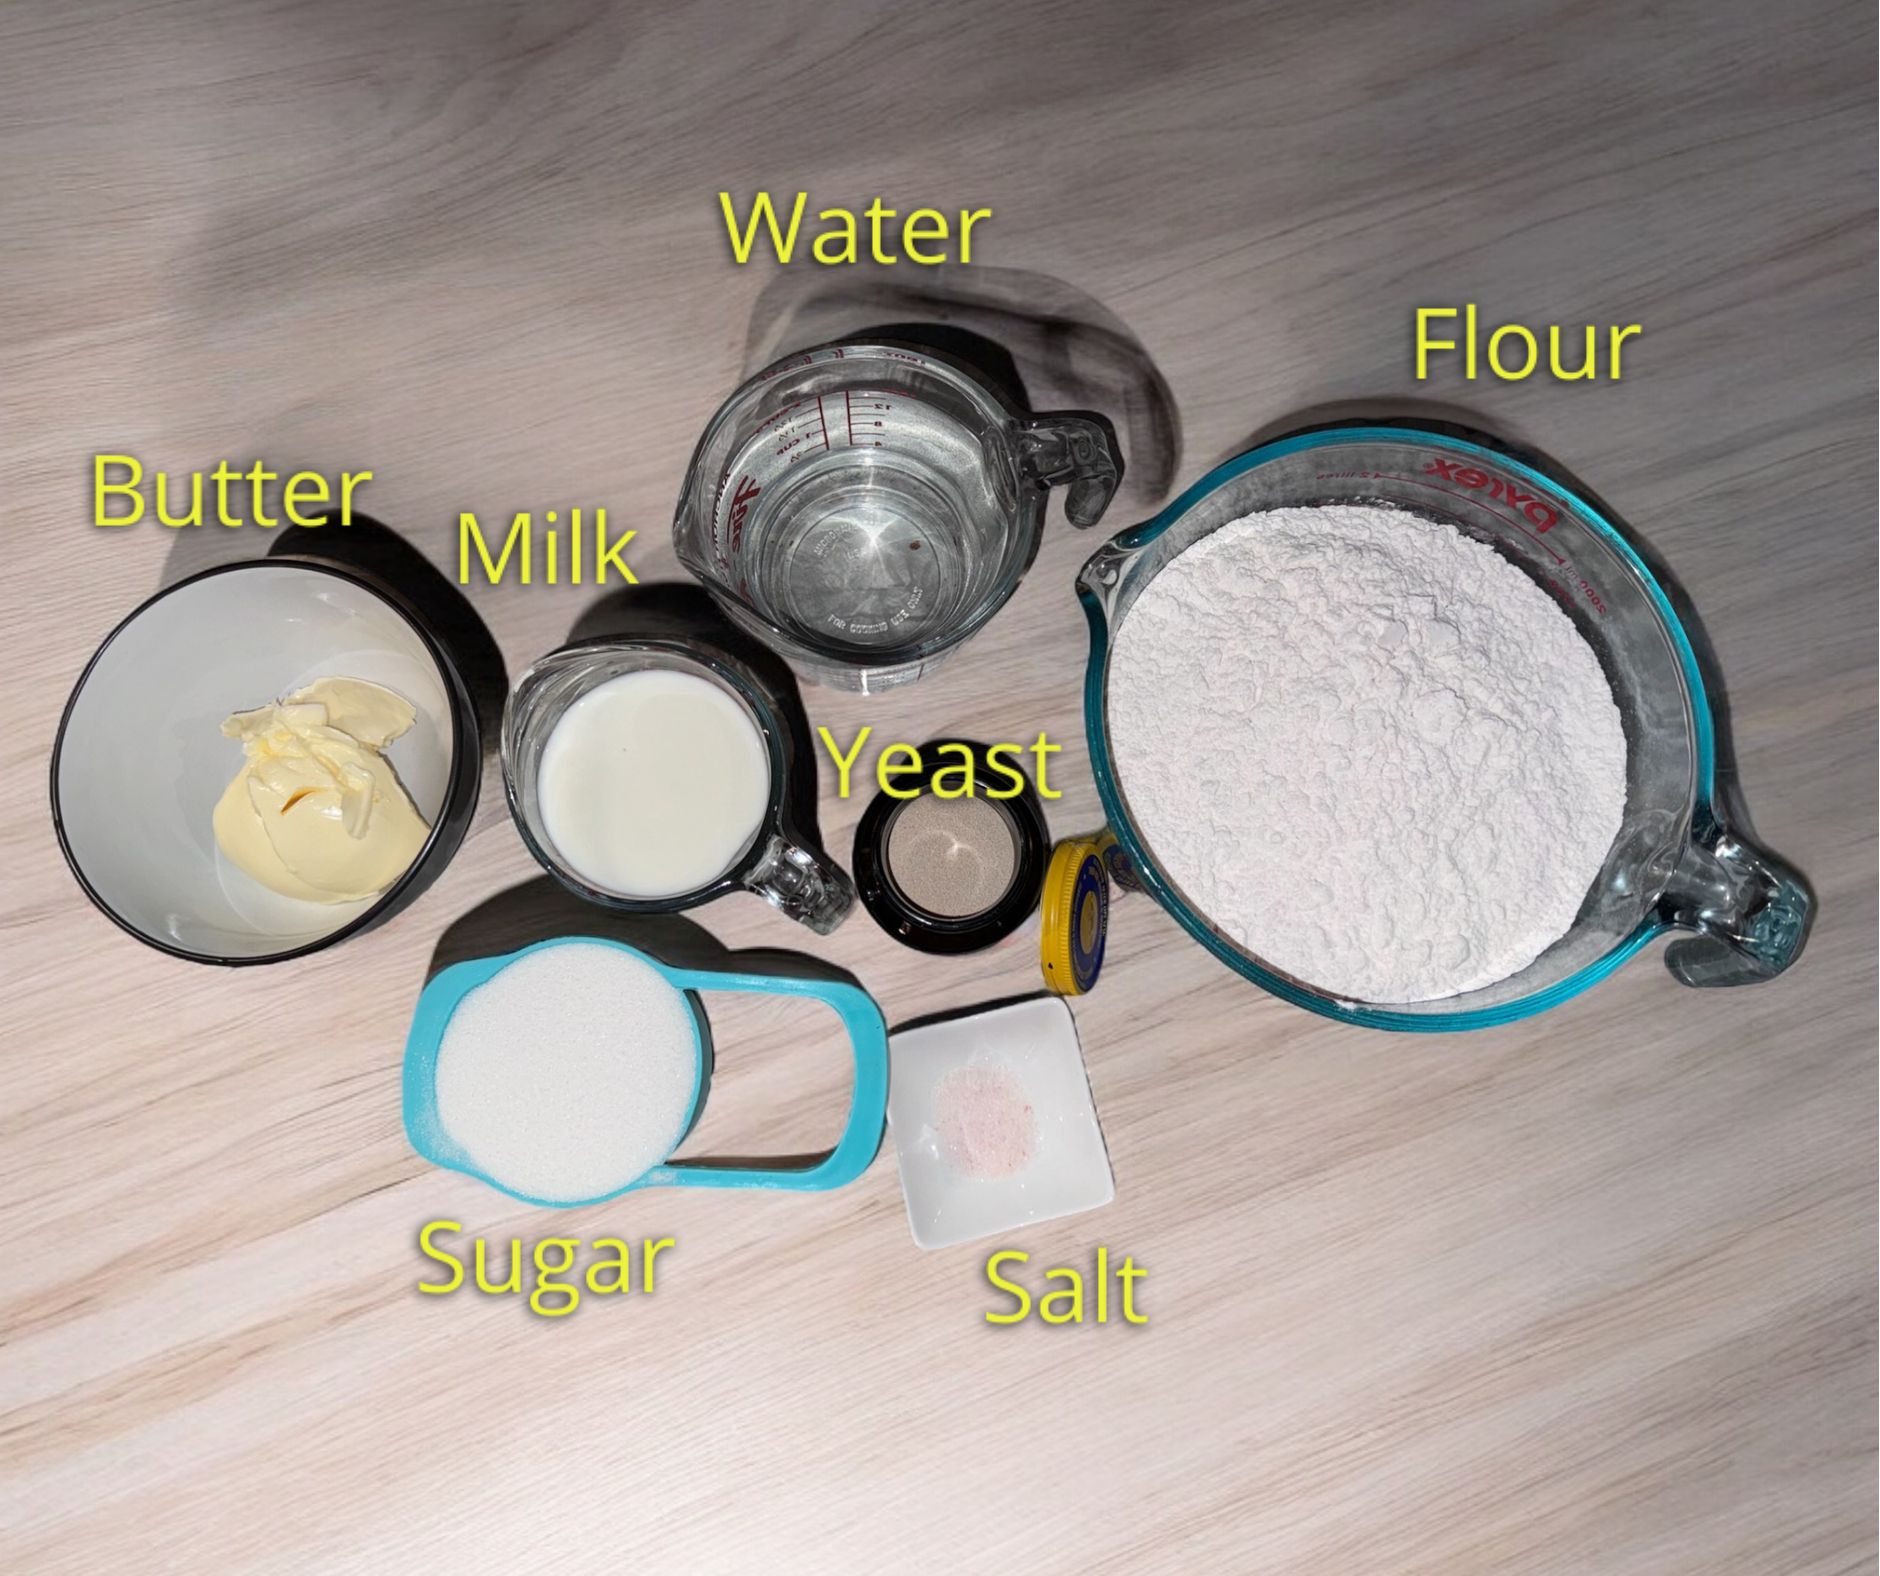
Ingredients:

- 3 cups water at 115ºF

- 2 tbsp yeast

- 1 cup warm milk at 115ºF

- 1 tsp salt

- ½ cup unsalted butter

- 9-10 cups flour

- ½ cup sugar


Instructions:

1. Add the warm water to your mixer bowl, sprinkle on the yeast, and let it sit covered for 5 minutes until bubbly.

2. Add in the warm milk, salt, butter, and 3 cups of flour. Mix briefly, then add the sugar.

3. Gradually add 6-7 more cups of flour, one cup at a time, mixing until the dough pulls away from the sides of the bowl and isn’t sticking.

4. Let the dough knead for 5 minutes.

5. Dump the dough out of the bowl and roll it into a ball.

6. Place the dough into a greased proofing bowl, cover with a damp towel, and let it rise for about an hour.

7. Once proofed, gently deflate the dough and turn it out onto a floured surface.

8. Cut the dough into four equal parts.

9. Shape each piece into a rectangle, then fold it into thirds, using the heel of your palm to seal the edges.

10. Place the rolled dough into greased bread pans, cover with greased plastic wrap, and let it proof until the dough rises above the pan.

11. Bake at 390ºF for 27-28 minutes.

12. Remove the loaves from the pans immediately and, if you can resist, wait until they cool before slicing.

13. Store your bread in a cotton bag or freeze it for later.


More Dawn's Simple Life inspirations

A bunch of elderberries are surrounded by white flowers
September 2, 2024
Summer’s wrapping up, and while we might be doing a happy dance as the kids head back to school, we all know what’s lurking around the corner—the dreaded back-to-school cold. But don’t worry, I’ve got a little secret that’s been a game-changer for my family: elderberry syrup. Why I Swear by Elderberries * These tiny, dark berries are like nature’s multivitamins. They’re packed with antioxidants and vitamins that help boost your immune system, making them a perfect defense against colds and the flu. And if you’re already starting to feel that scratchy throat or stuffy nose, elderberry syrup can help lessen the symptoms. It’s like having a natural, sweet-tasting remedy that actually works. Where to Find Elderberries If you’re lucky enough to live in the countryside, you might just find elderberry bushes on a walk or drive. They love soaking up the sun, so check along roadsides or open fields. There’s something satisfying about picking your own berries, knowing you’re gathering the good stuff straight from nature. But if foraging isn’t in the cards (or you’re just not up for it), don’t worry! You can easily order organic elderberries online and have them delivered right to your door. It’s like having a little piece of nature shipped directly to you. Harvesting Elderberries: My Favorite Part Some varieties of elderberries can be toxic when eaten raw – the best way to avoid this is to make sure you always cook your elderberries well first When you find a bush full of those gorgeous, deep purple berries, it’s a bit like discovering a hidden treasure. I always bring along a pair of scissors and a bucket or bag to collect them. Snip the clusters, let them fall into your container, and you’re set. Back at home, give the berries a good rinse to wash away any dirt or bugs, and let them dry on a towel. Here’s a trick I love: freeze the berries overnight in a bag. The next day, give the bag a shake, and the berries will pop right off the stems. It’s oddly satisfying and a great way to relieve some stress!

Share